Last One

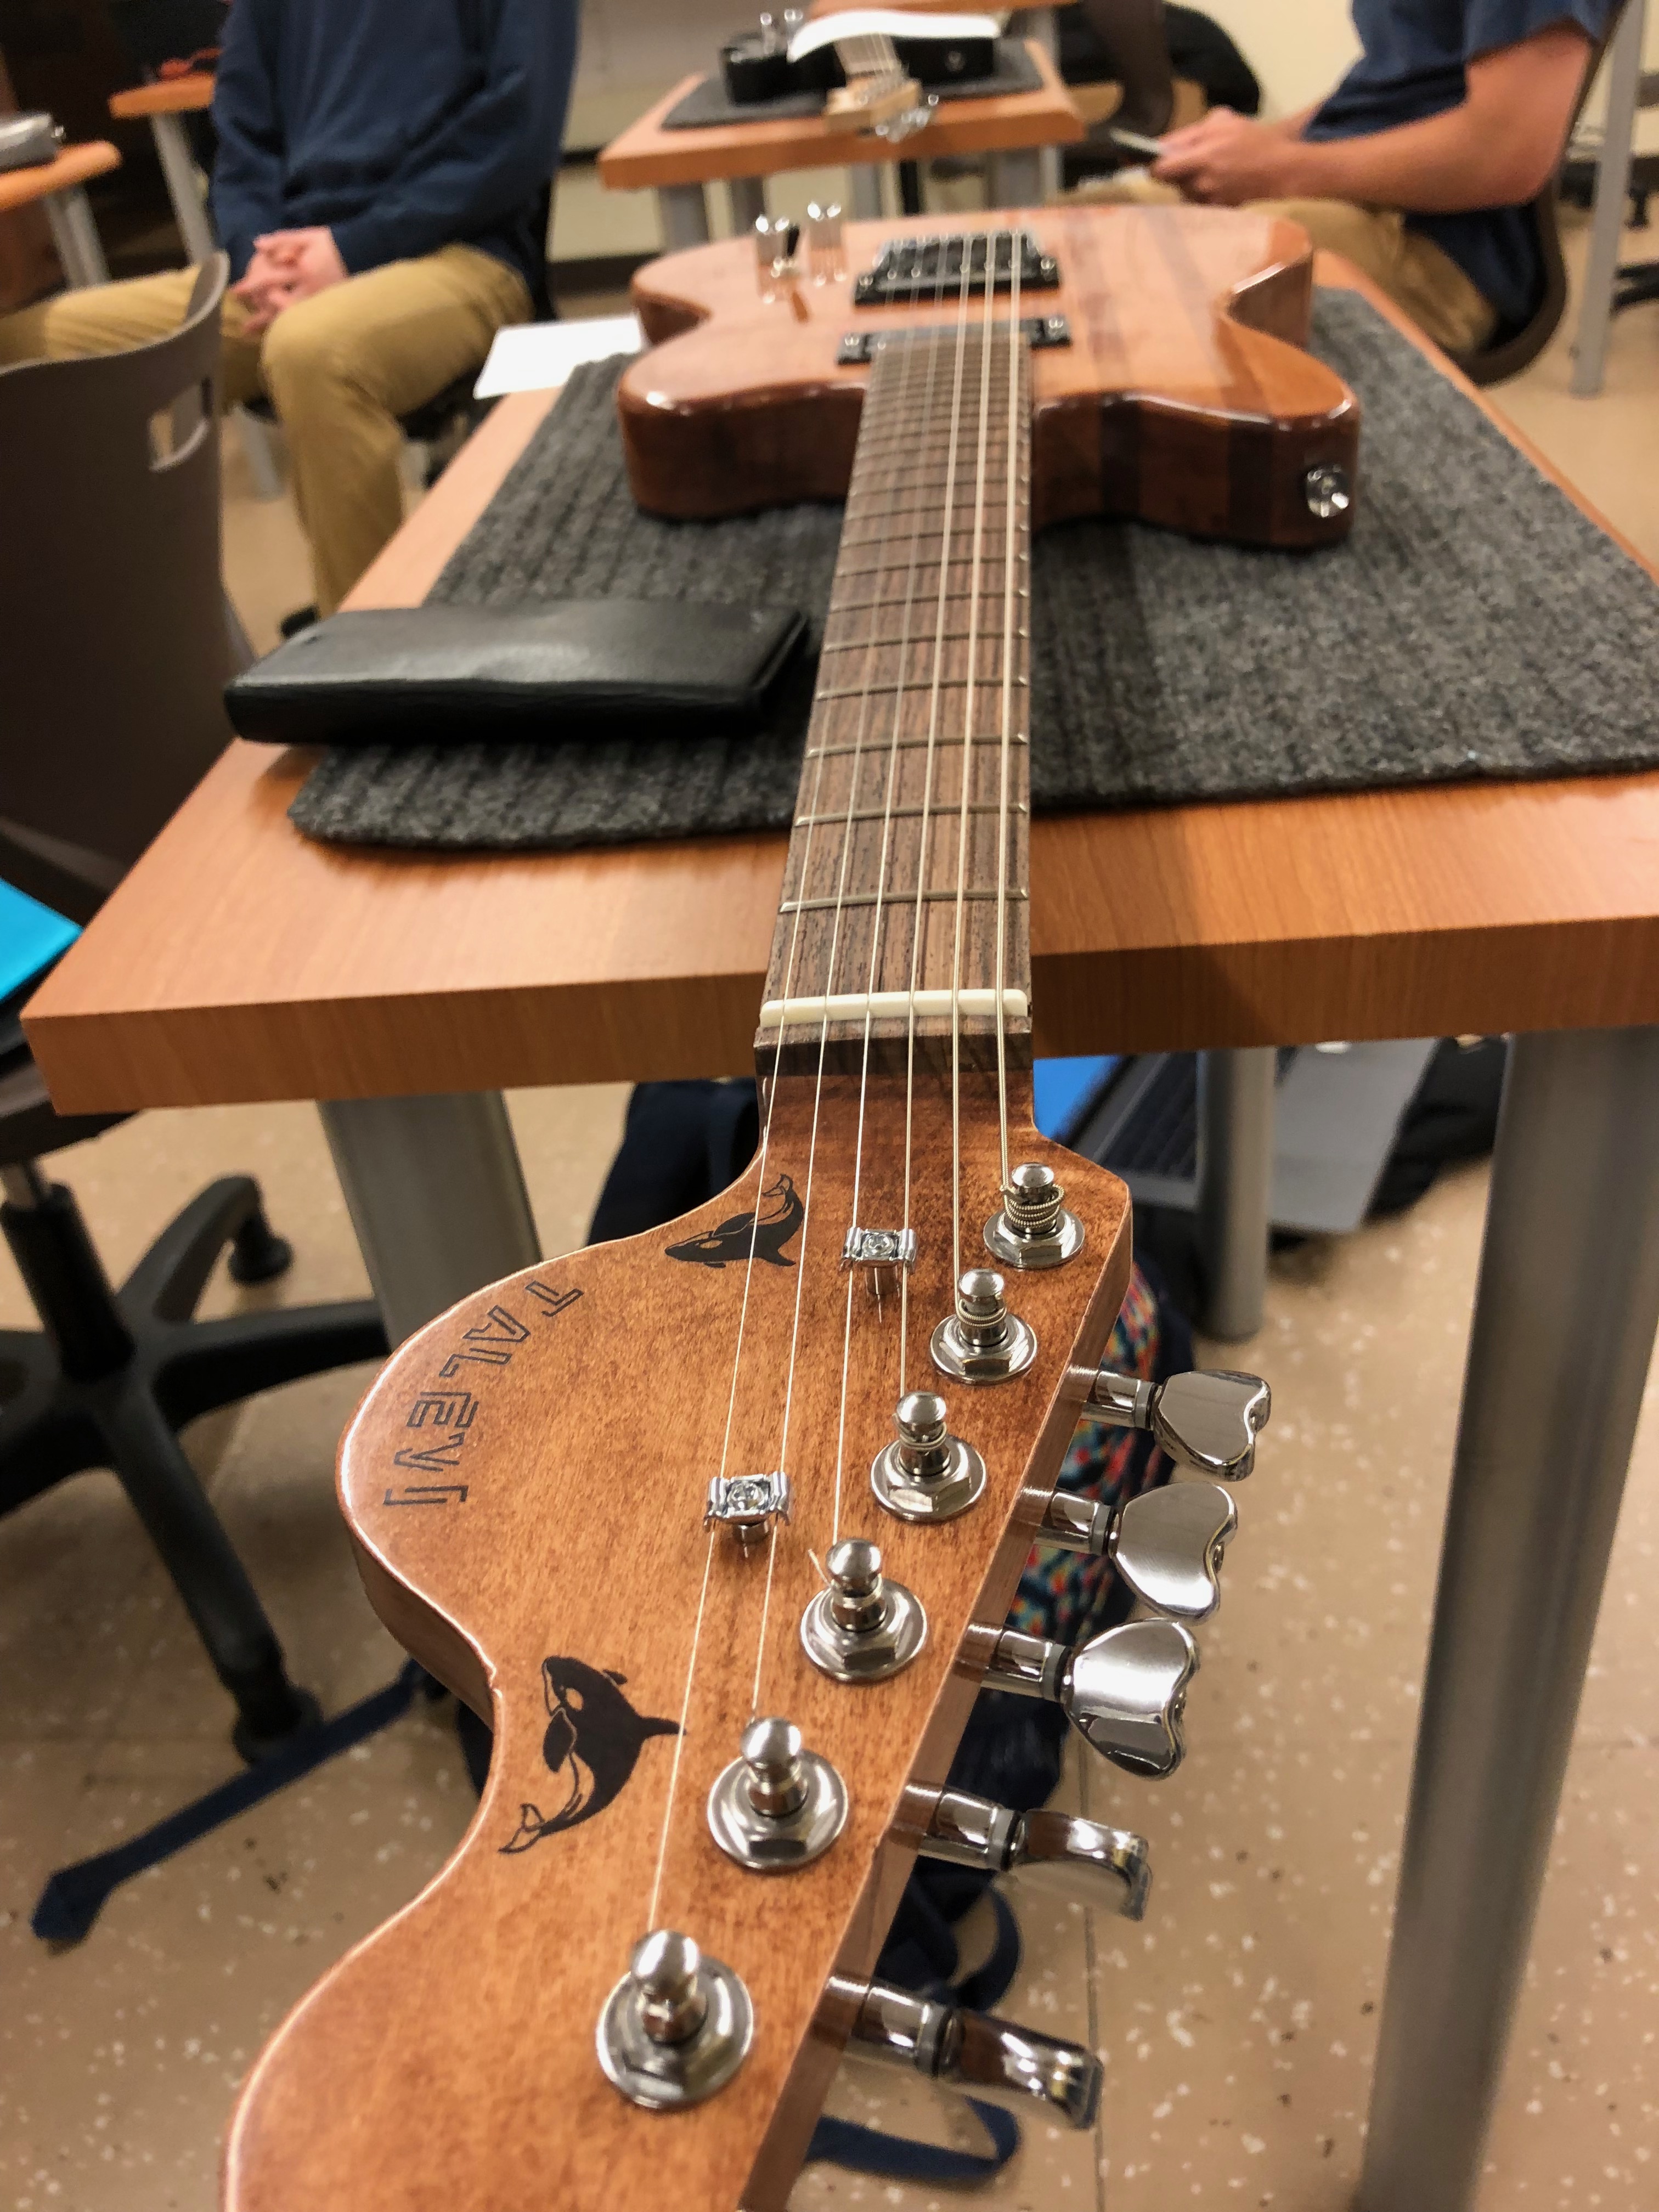
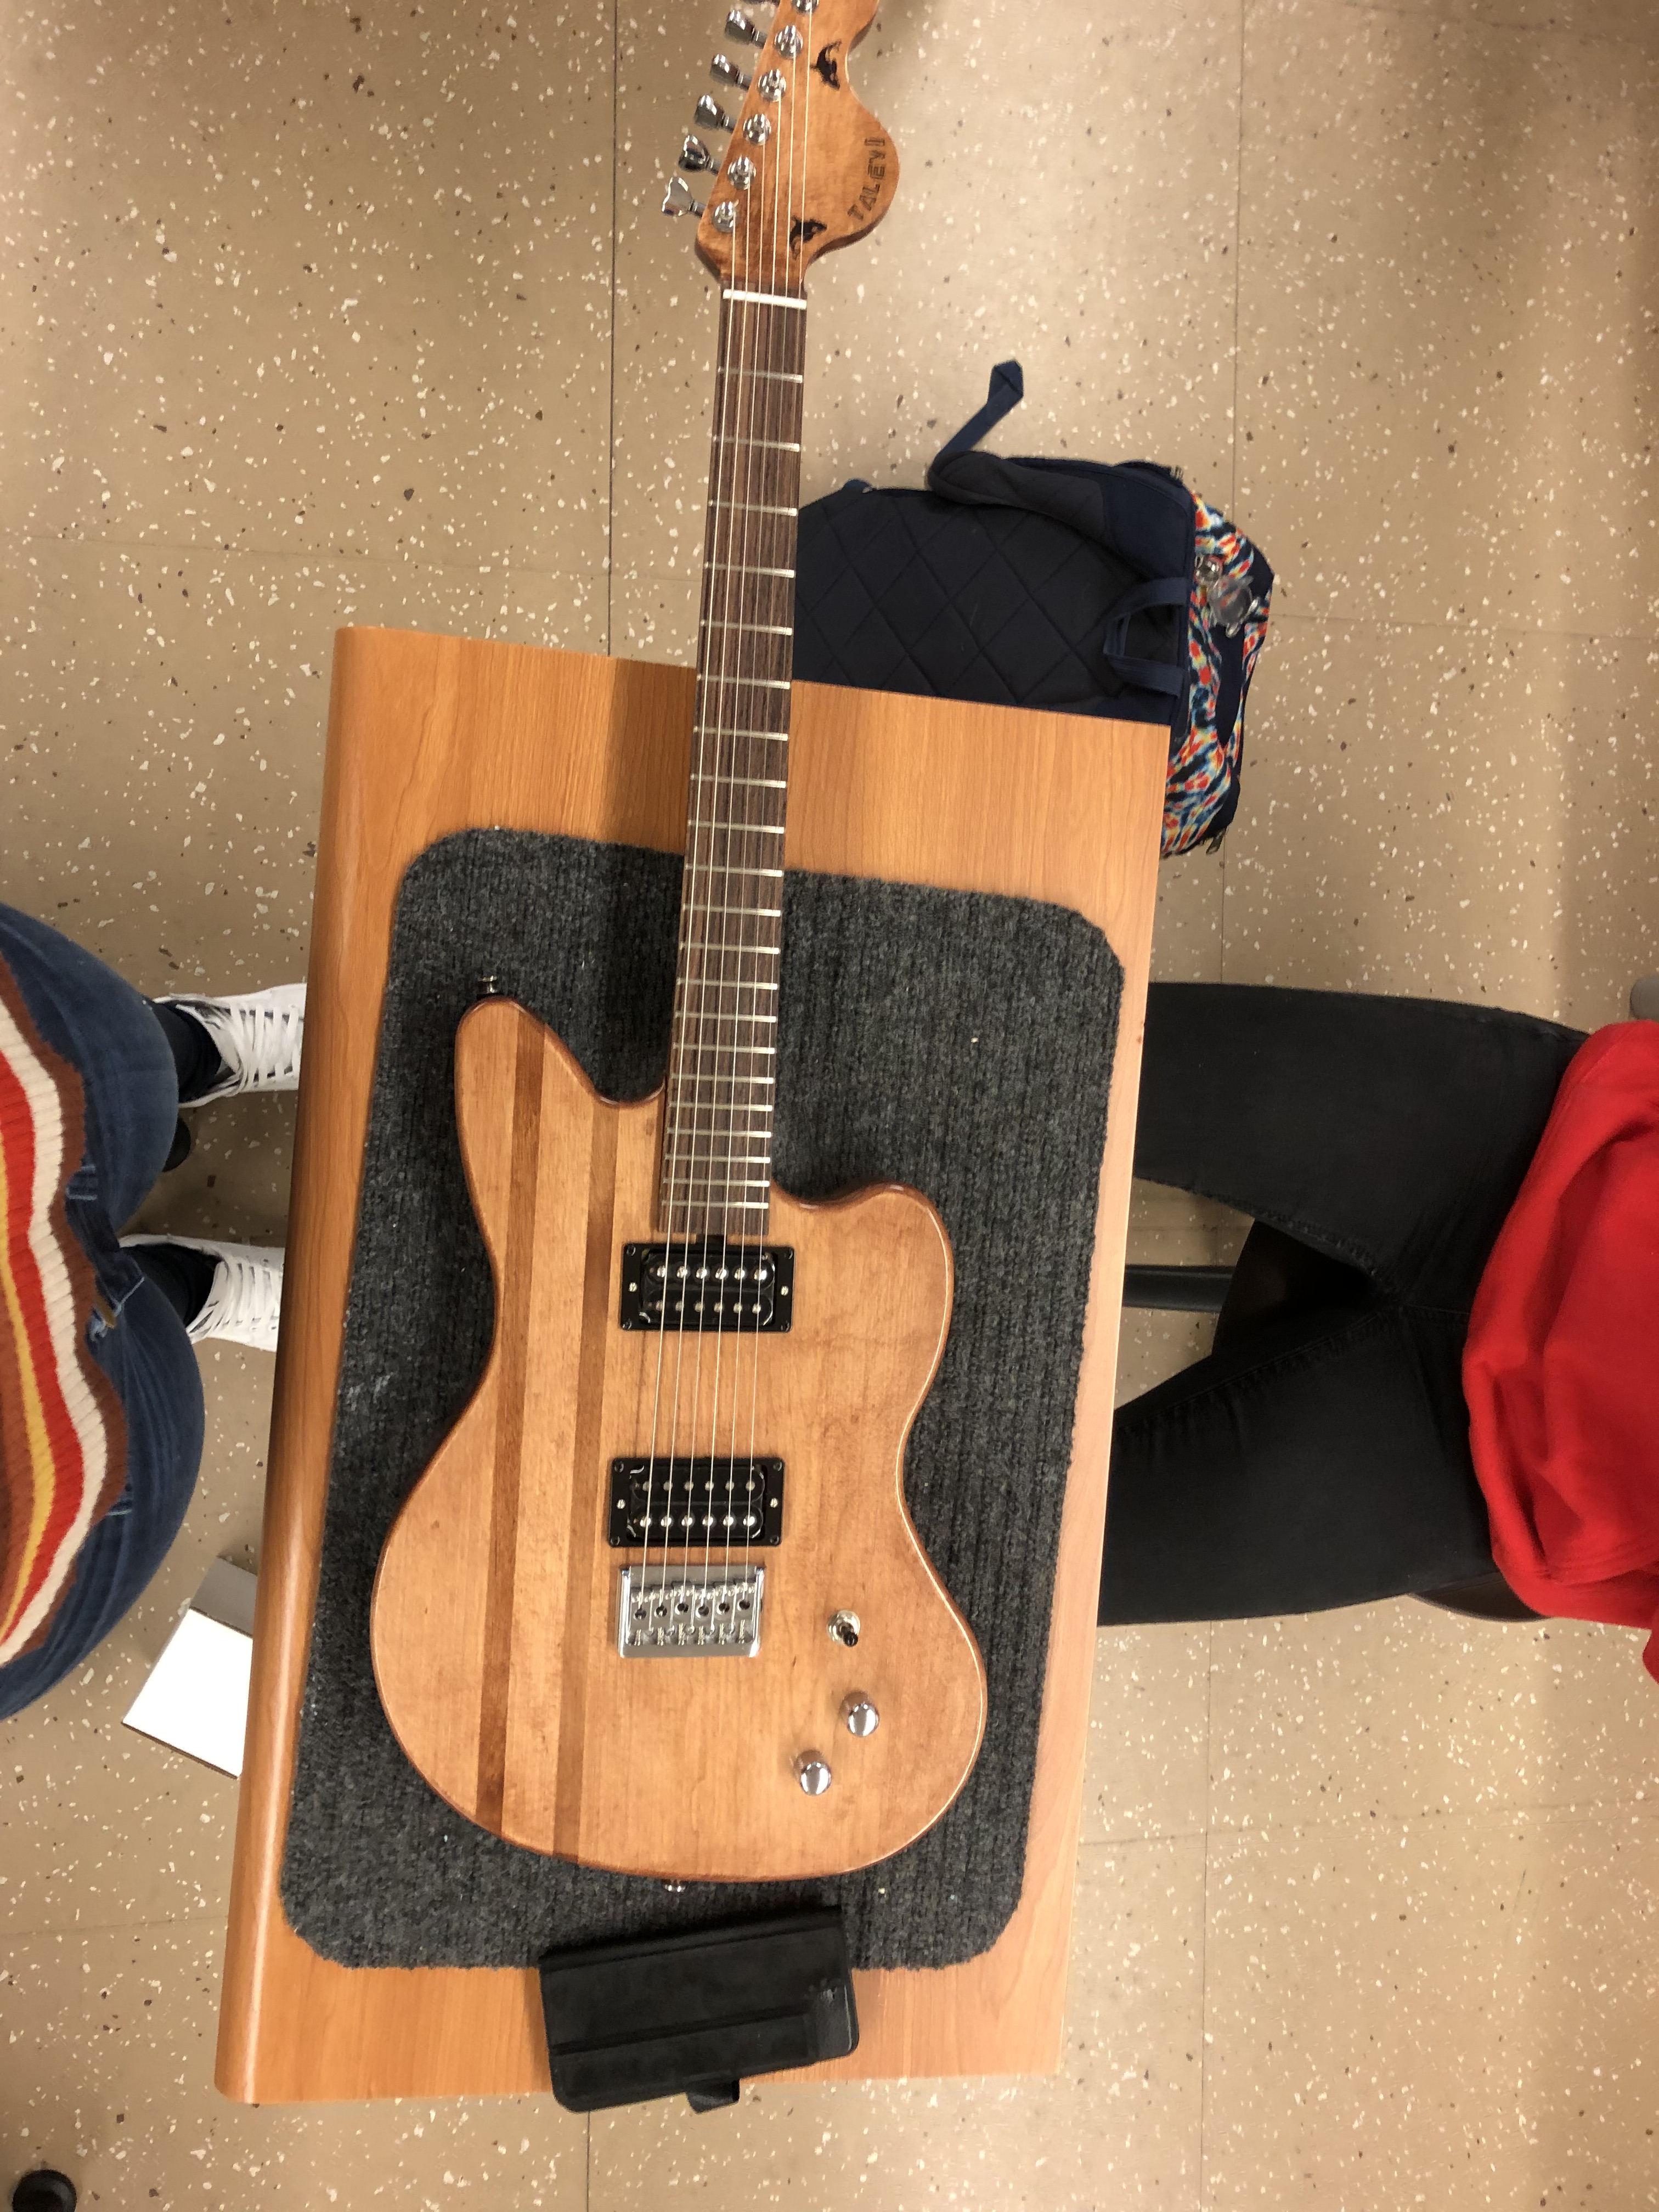
Intention Description: The Intention process started with bridge and adjusting that. You start with the high e string and made it exactly 25.5 inches to the nut slot and then we adjusted the rest of the bridge saddles relative to that first one, and made sure they were at the right hight to set the action. Next we put the strings through the saddles up through the nut slot and then attached to the tuning machines. After that we shaved the nut slot so that the strings would fit deep enough into the nut and bring the strings to the correct hight above the frets. And then we attached the string trees which creates a break angle at the nut, creates downward pressure to stop vibrations after the nut. After all that was done we intenated the guitar which is when you adjust the saddles so the 12th fret is one octave above open string. I did not have any fret buzz issues 🙂

Academic Description: The one academic lesson that meant the most to me was making the speakers, they showed how the pickups worked, and how magnetic fields worked. This was the most fun of the academic things and was very interesting and fascinating. I think that was a fun way to show an important thing about the guitar and how it works. It was just also really cool to hear the song only in my head.

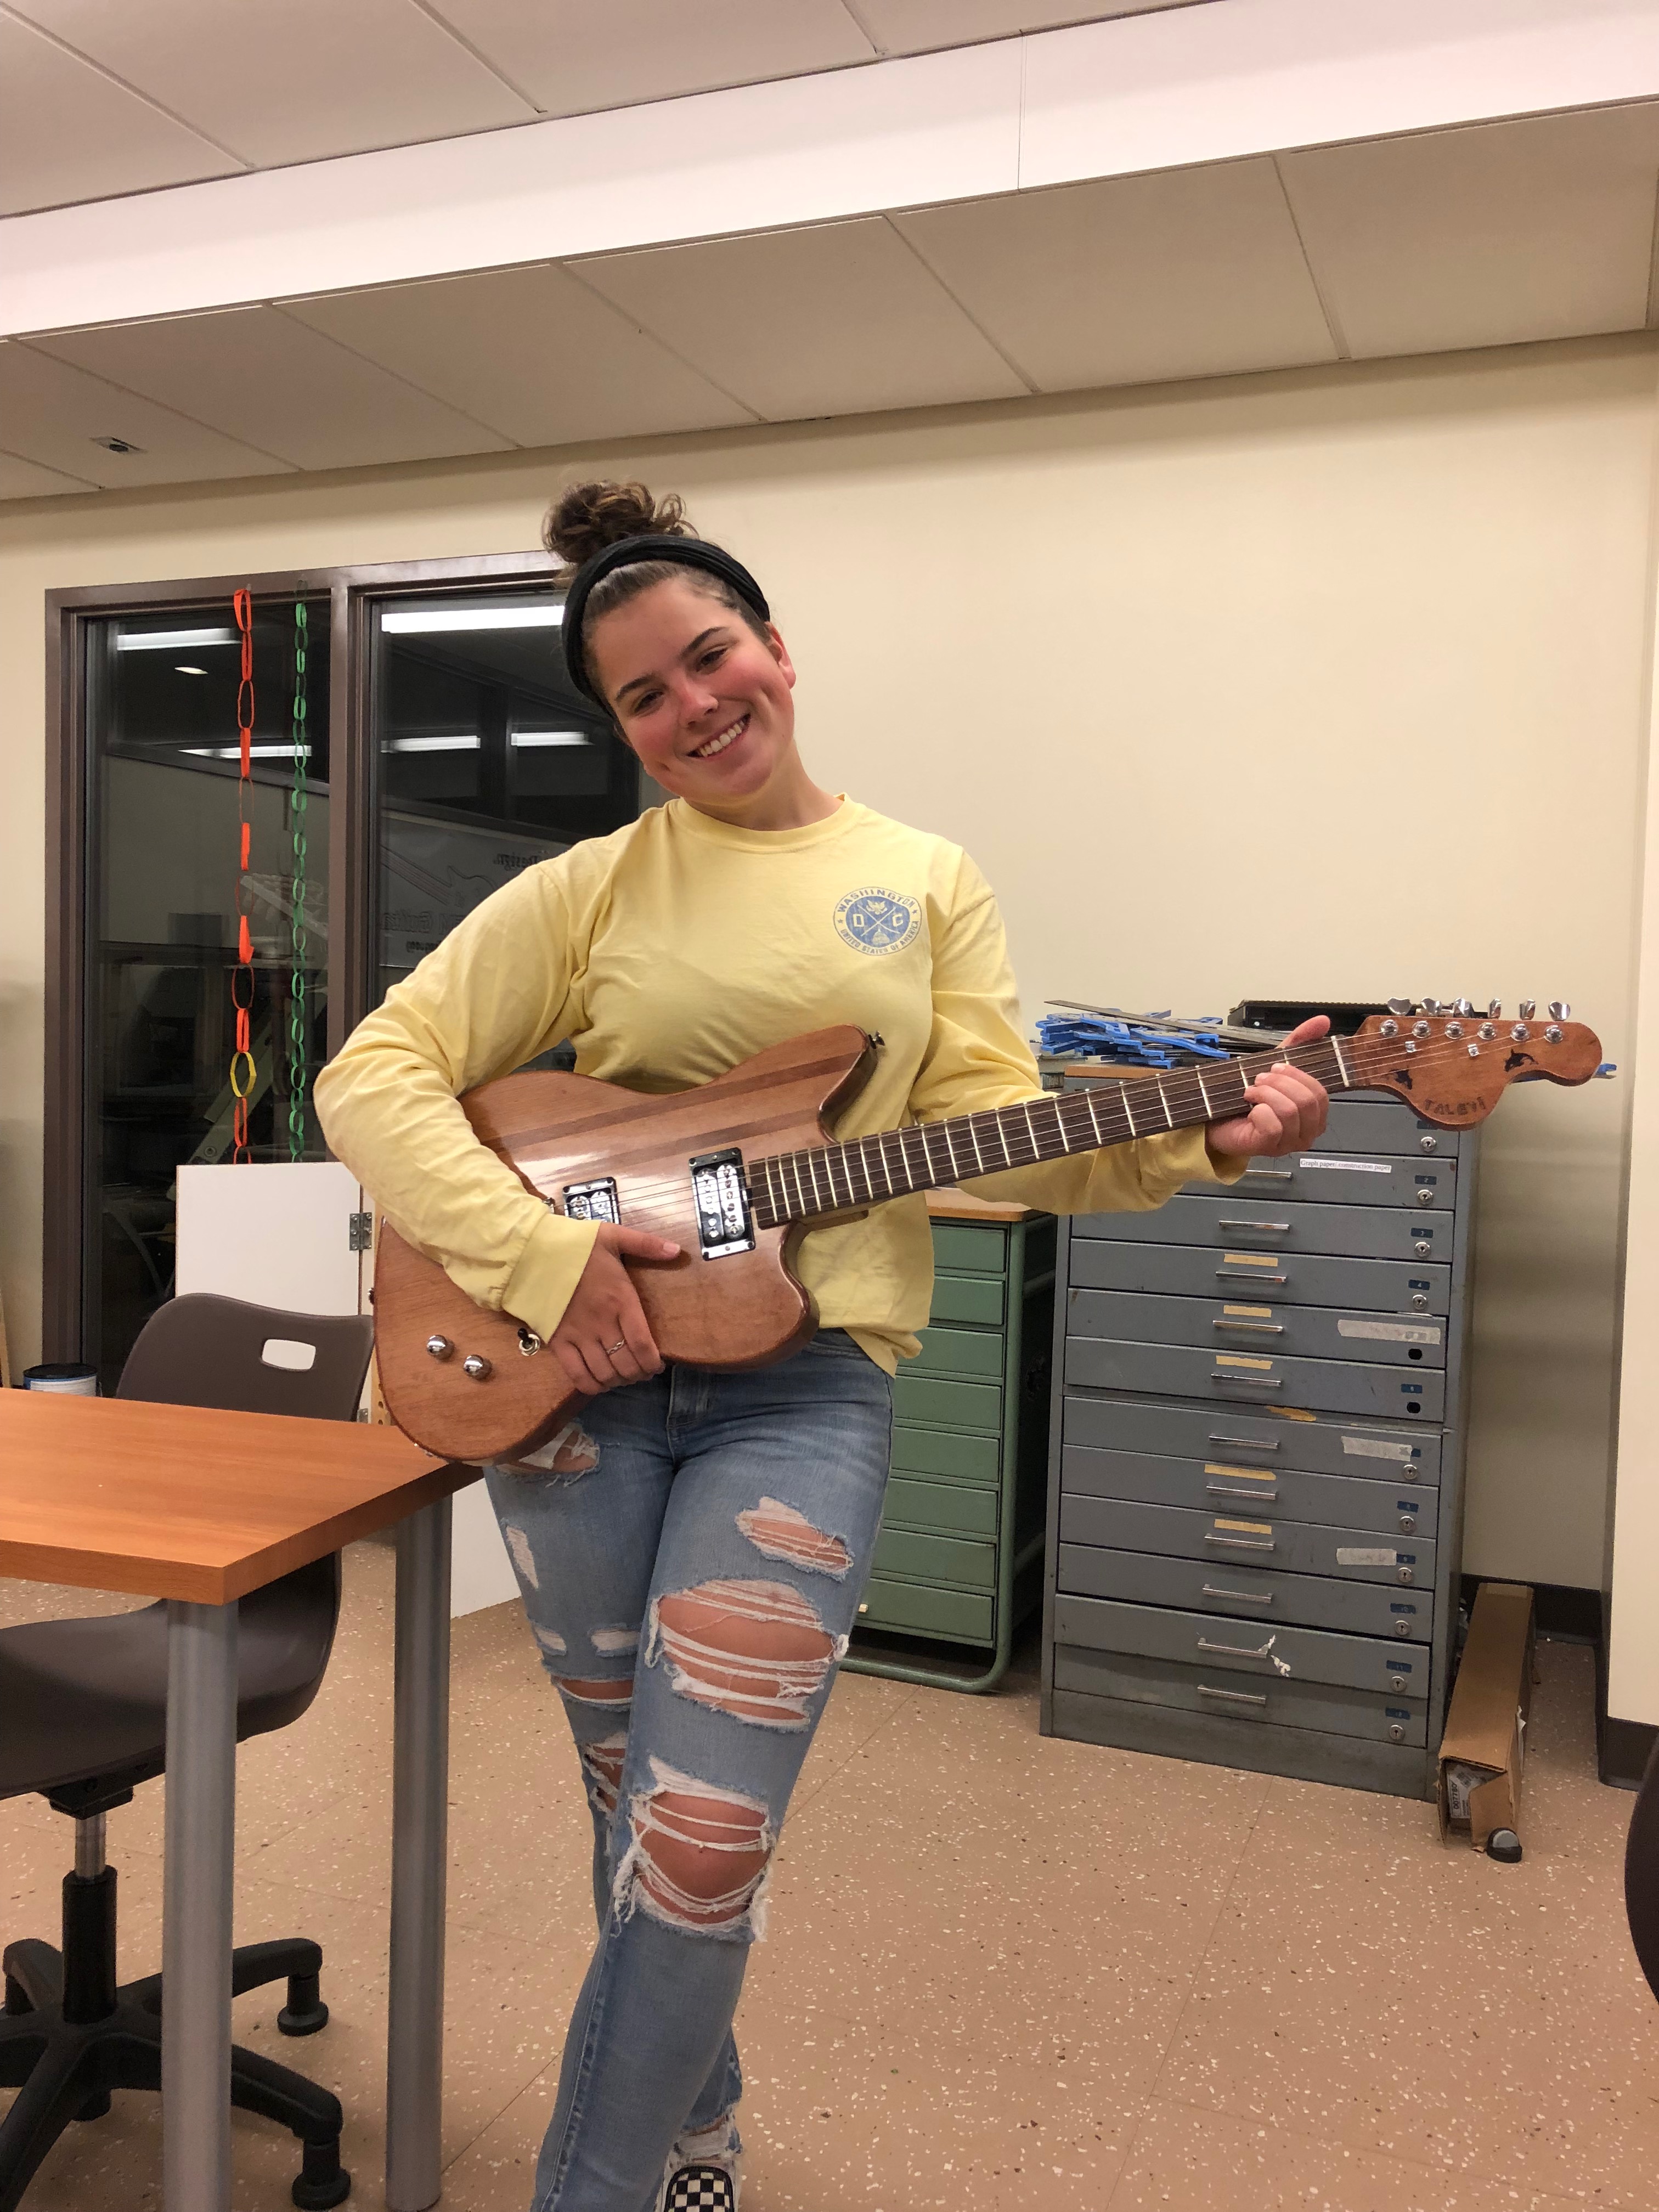
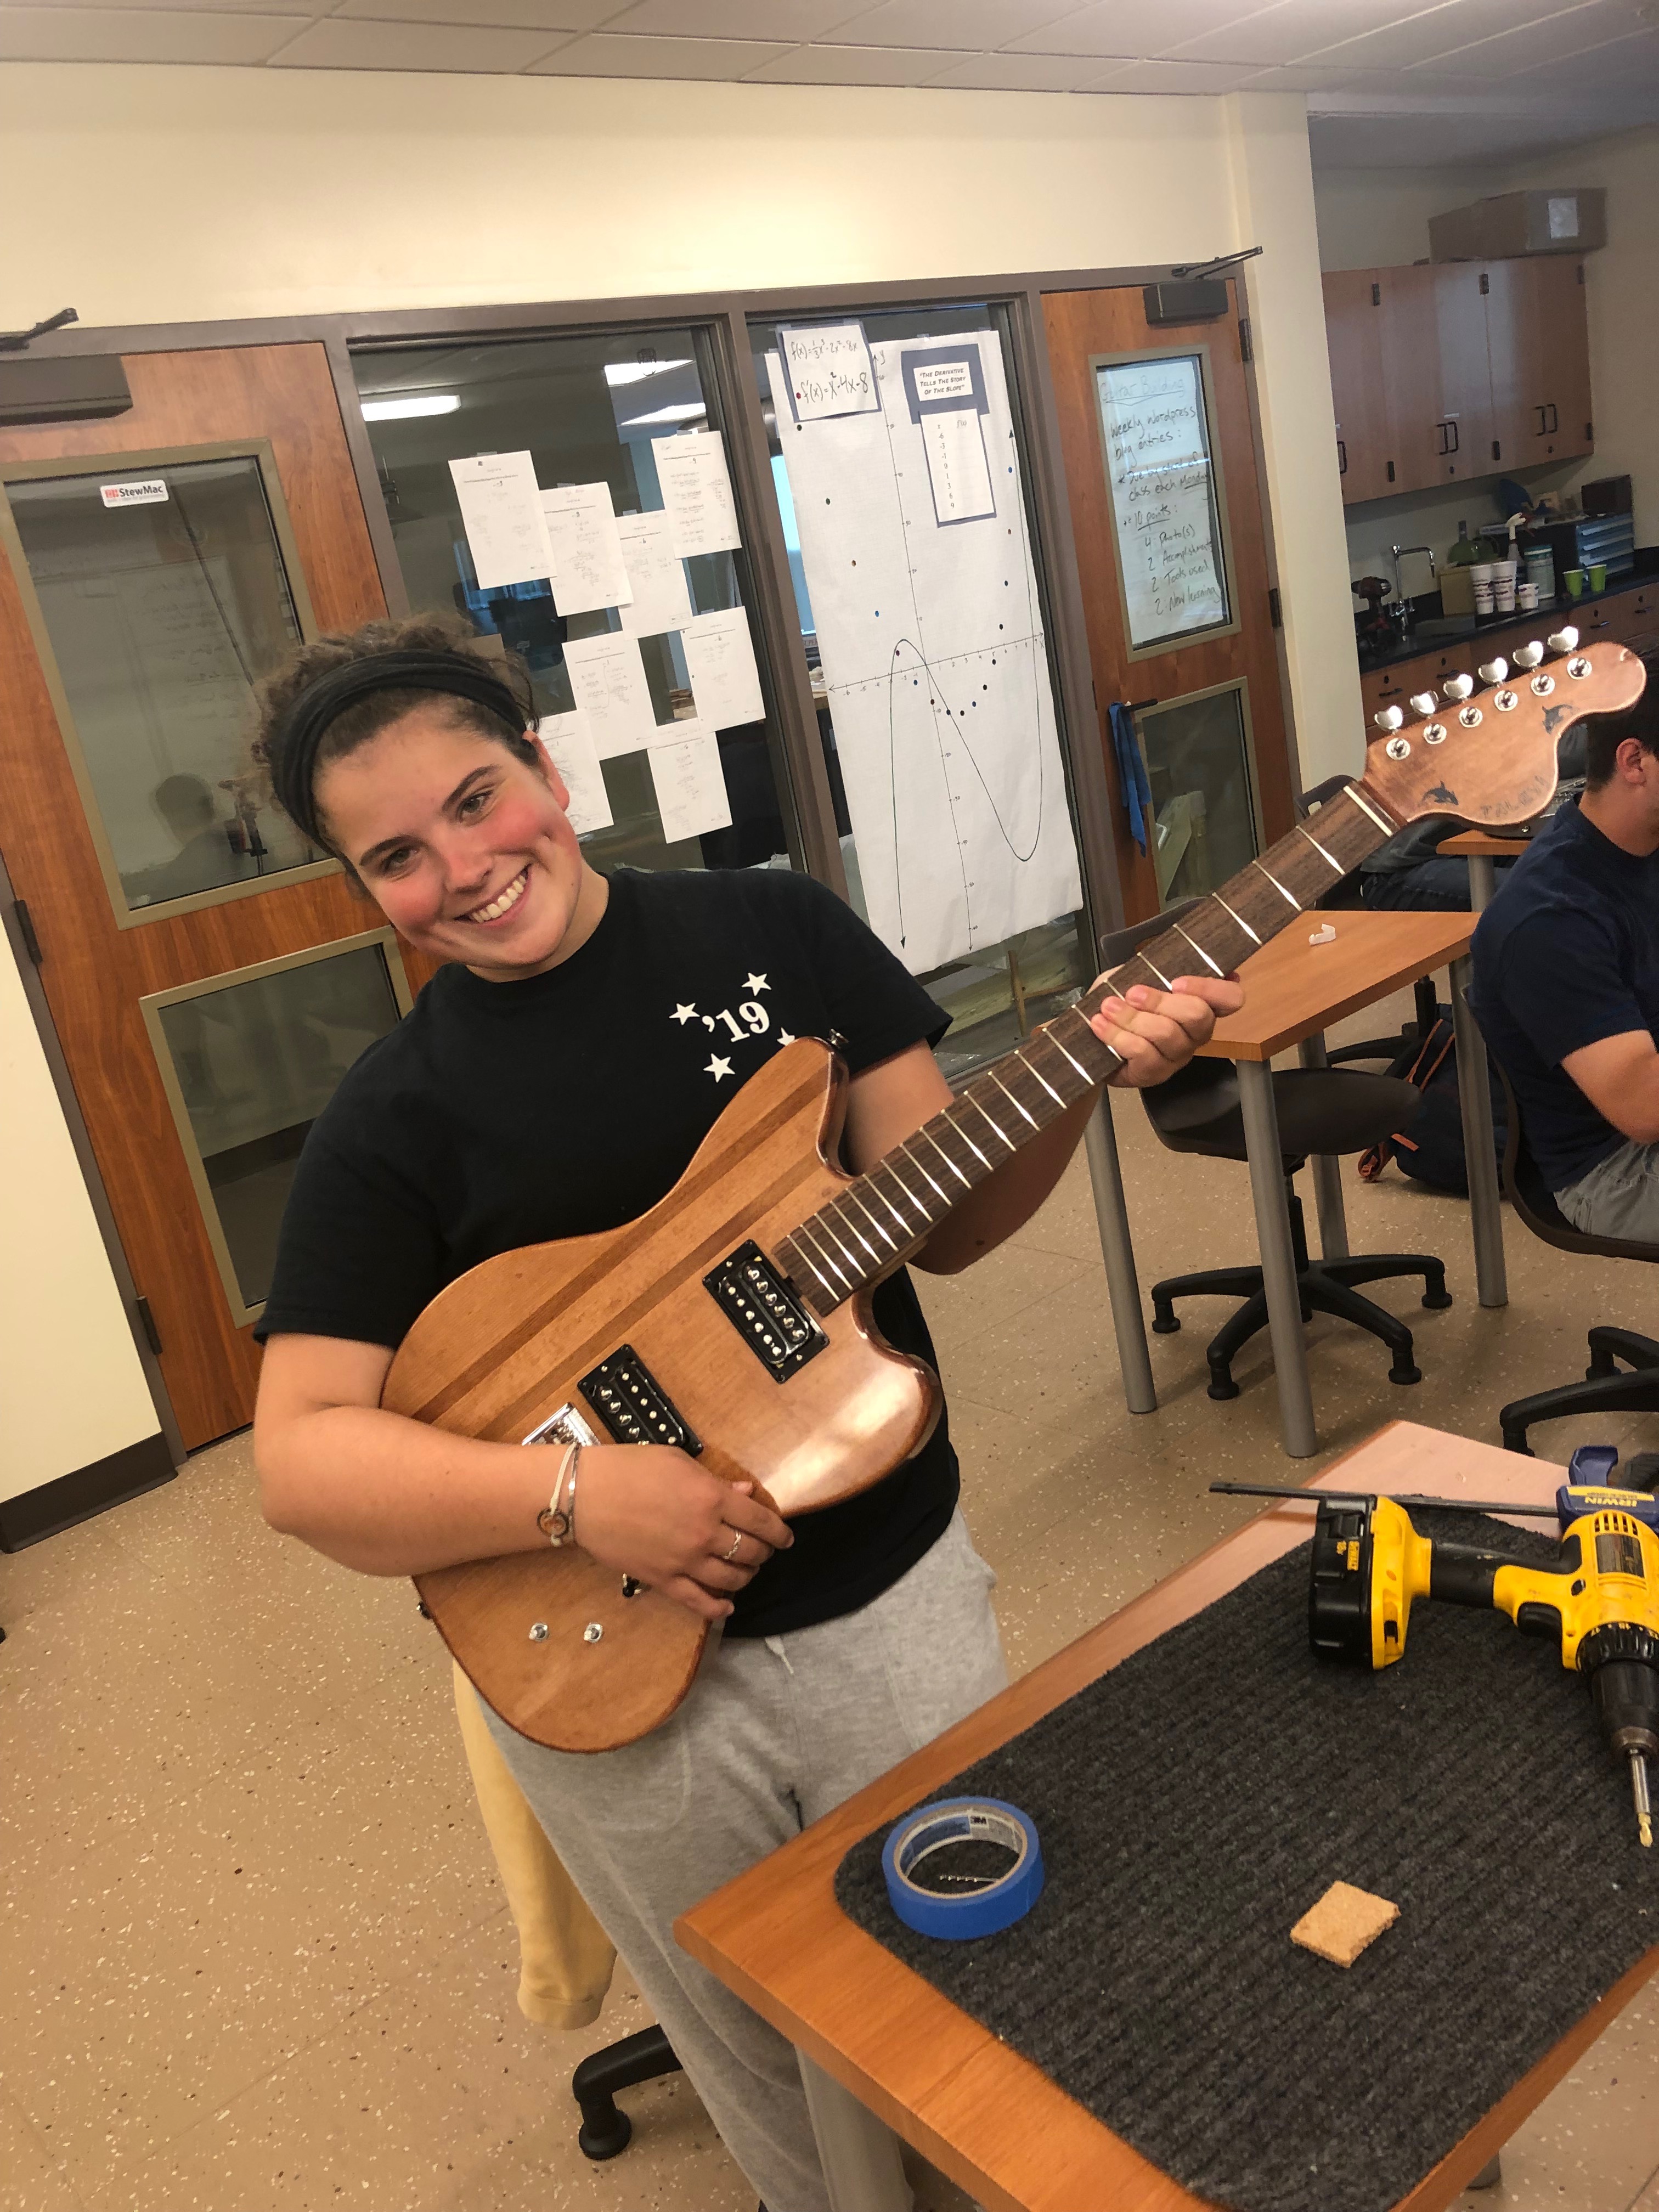
Reaction to Course as a Whole: My reaction to the course as a whole is that it was so awesome. It was so surreal to see something come in rough parts and now to see the whole guitar, so shiny, and everything is so cool! and to say that I made it like thats crazy! I really enjoyed this class so much, with all my friends and doing this as a group I feel like we all really connected on this one thing and that was cool! My final thought is that this class was awesome, and I really appreciate you doing this and inspiring kids to do things that they would never be able to do without this class. Thank you!

me with my guitar
close up on shiny guitar
close of of headstock

Week 23

Accomplishments: This week I sautered the inside of the electronics, put on the cover plate, put on the strings, attached the neck to the body, and added the rest of the hardware to my guitar

Tools: This week I used the soldering iron, and a drill and lots of different screws to attach all the different things.

What I learned: This week I learned that the bridge saddles have to be at different hights to have the right tune and you adjust them, by always comparing it to the first one which has to be exactly 25.5 inches from the string nut.

Week 22

Accomplishments: this week i started installing the hardware in my guitar. We finished polishing the neck, and we put in the bridge and pickups and strap buttons, and Ferrules

Tools: drill, screws, and the drill press to press in the ferrules.

What I learned: This week I learned that you have to put a wire underneath the bridge, so everything metal on the guitar is grounded.

Week 21

Accomplishments: This week I polished my neck and started polishing my body and I put the tuning machines into the headstock.

Tools: I used sandpaper, drill, screwdriver

What I learned: This week I learned that you have to use wet sandpaper to polish your body, and also that it is important to keep it flat, so we used a block of wood under the sandpaper so that it kept flat.

week 20

Accomplishments: This week I finally finished putting coats on my body and neck! Also took off the tape from my neck and started buffing it and polishing it to make it look super good and shiny. We cleaned the fingerboard with guitar honey so it looks super nice and refreshed from having the tape on it for weeks.

Tools: sandpaper, spray gun, guitar honey

What I learned: This week I learned that you have to break the seal on your neck because the finish has built up and attached to the tape so if you just try to rip off the tape then you will get a rough like jagged edge on the side of your guitar.

fingerboard after guitar honey
back of neck after being buffed
starting to polish headstock

Week 19

Accomplishments: This week I pretty much just did spray coats of finish on my body and neck of my guitar. I also taped the neck of the project guitar getting ready for finish.

Tools: spray gun, tape

What I learned: I learned that you have to have the right technique when using the spray gun because you don’t want it to be milky white and run which i learned the hard way. Also Mr.McCormack can shoot a coat on a body in 55.97 seconds.

Week 18

Accomplishments: This week I finished putting on clear coat on the front of my headstock, and then we started spraying this week as well covering our whole body and neck with clear coat. I also fit the string nut into the project guitar. The class swirl dipped the project guitar body however I was absent that day, but it looks really cool!

Tools: The tools I used were a spray gun for shooting the clear coat, and a little foam paintbrush for painting the clear coat onto my headstock. I also fit the string nut into the project guitar so I used sandpaper and a little superglue for that.

What I learned: This week I learned that we want the clear coat to be wet but not to drip because if it drips then it will be too thick and messy looking. I also learned how the spray gun works and that you want to be very even and about 8 inches away from what you are spraying, so thats about a dollar bill + two inches.

This is me spraying clear coat

Week 16

Accomplishments: This week I put coats of clear coat on my headstock in order to prep it for my logo. I also helped make the headstock design for the project guitar. I also am experimenting with swirl dip with scrap pieces of wood.

Tools: This week I used a brush to put on the clear coat, and I used my laptop to make the digital design, other than that I did not use many tools.

What I learned: This week I learned about swirl dip and how to do it. Me and lily practiced on some scrap pieces of wood, and we figured out how the water and paint reacted.

These are our swirl dip pieces.

Week 15

Accomplishments: This week I spent a lot of time finalizing my headstock design and figured out the final design for it. I also finished sanding sealing my body and neck with Lily.

Tools: Sanding sealer, paper, cloth

What I learned: This week I learned how to use the special paper that we are going to print our headstock logos on and it was really cool. It reminded me of a delicate temporary tattoo.

this was my first draft of headstock logo

This is the final one, flipped because thats how we have to do it.

Week 14

Accomplishments: This week I put on sanding sealer on my guitar to seal the stain that I put on last week. We also drew a circuit diagram for out electric stuff in the guitar. We also continued working on the guitar that we are going to auction off. I helped Gary put on the fingerboard this week.

Tools: Sanding sealer, sandpaper

What I learned: I learned that you have to wait until your sanding sealer dries a little bit before flipping it over or else the paper will stick to it and you will have to sand it off and stain and seal again. I also learned a how to draw a wiring diagram.

my guitar with sanding sealer on it