Week 2

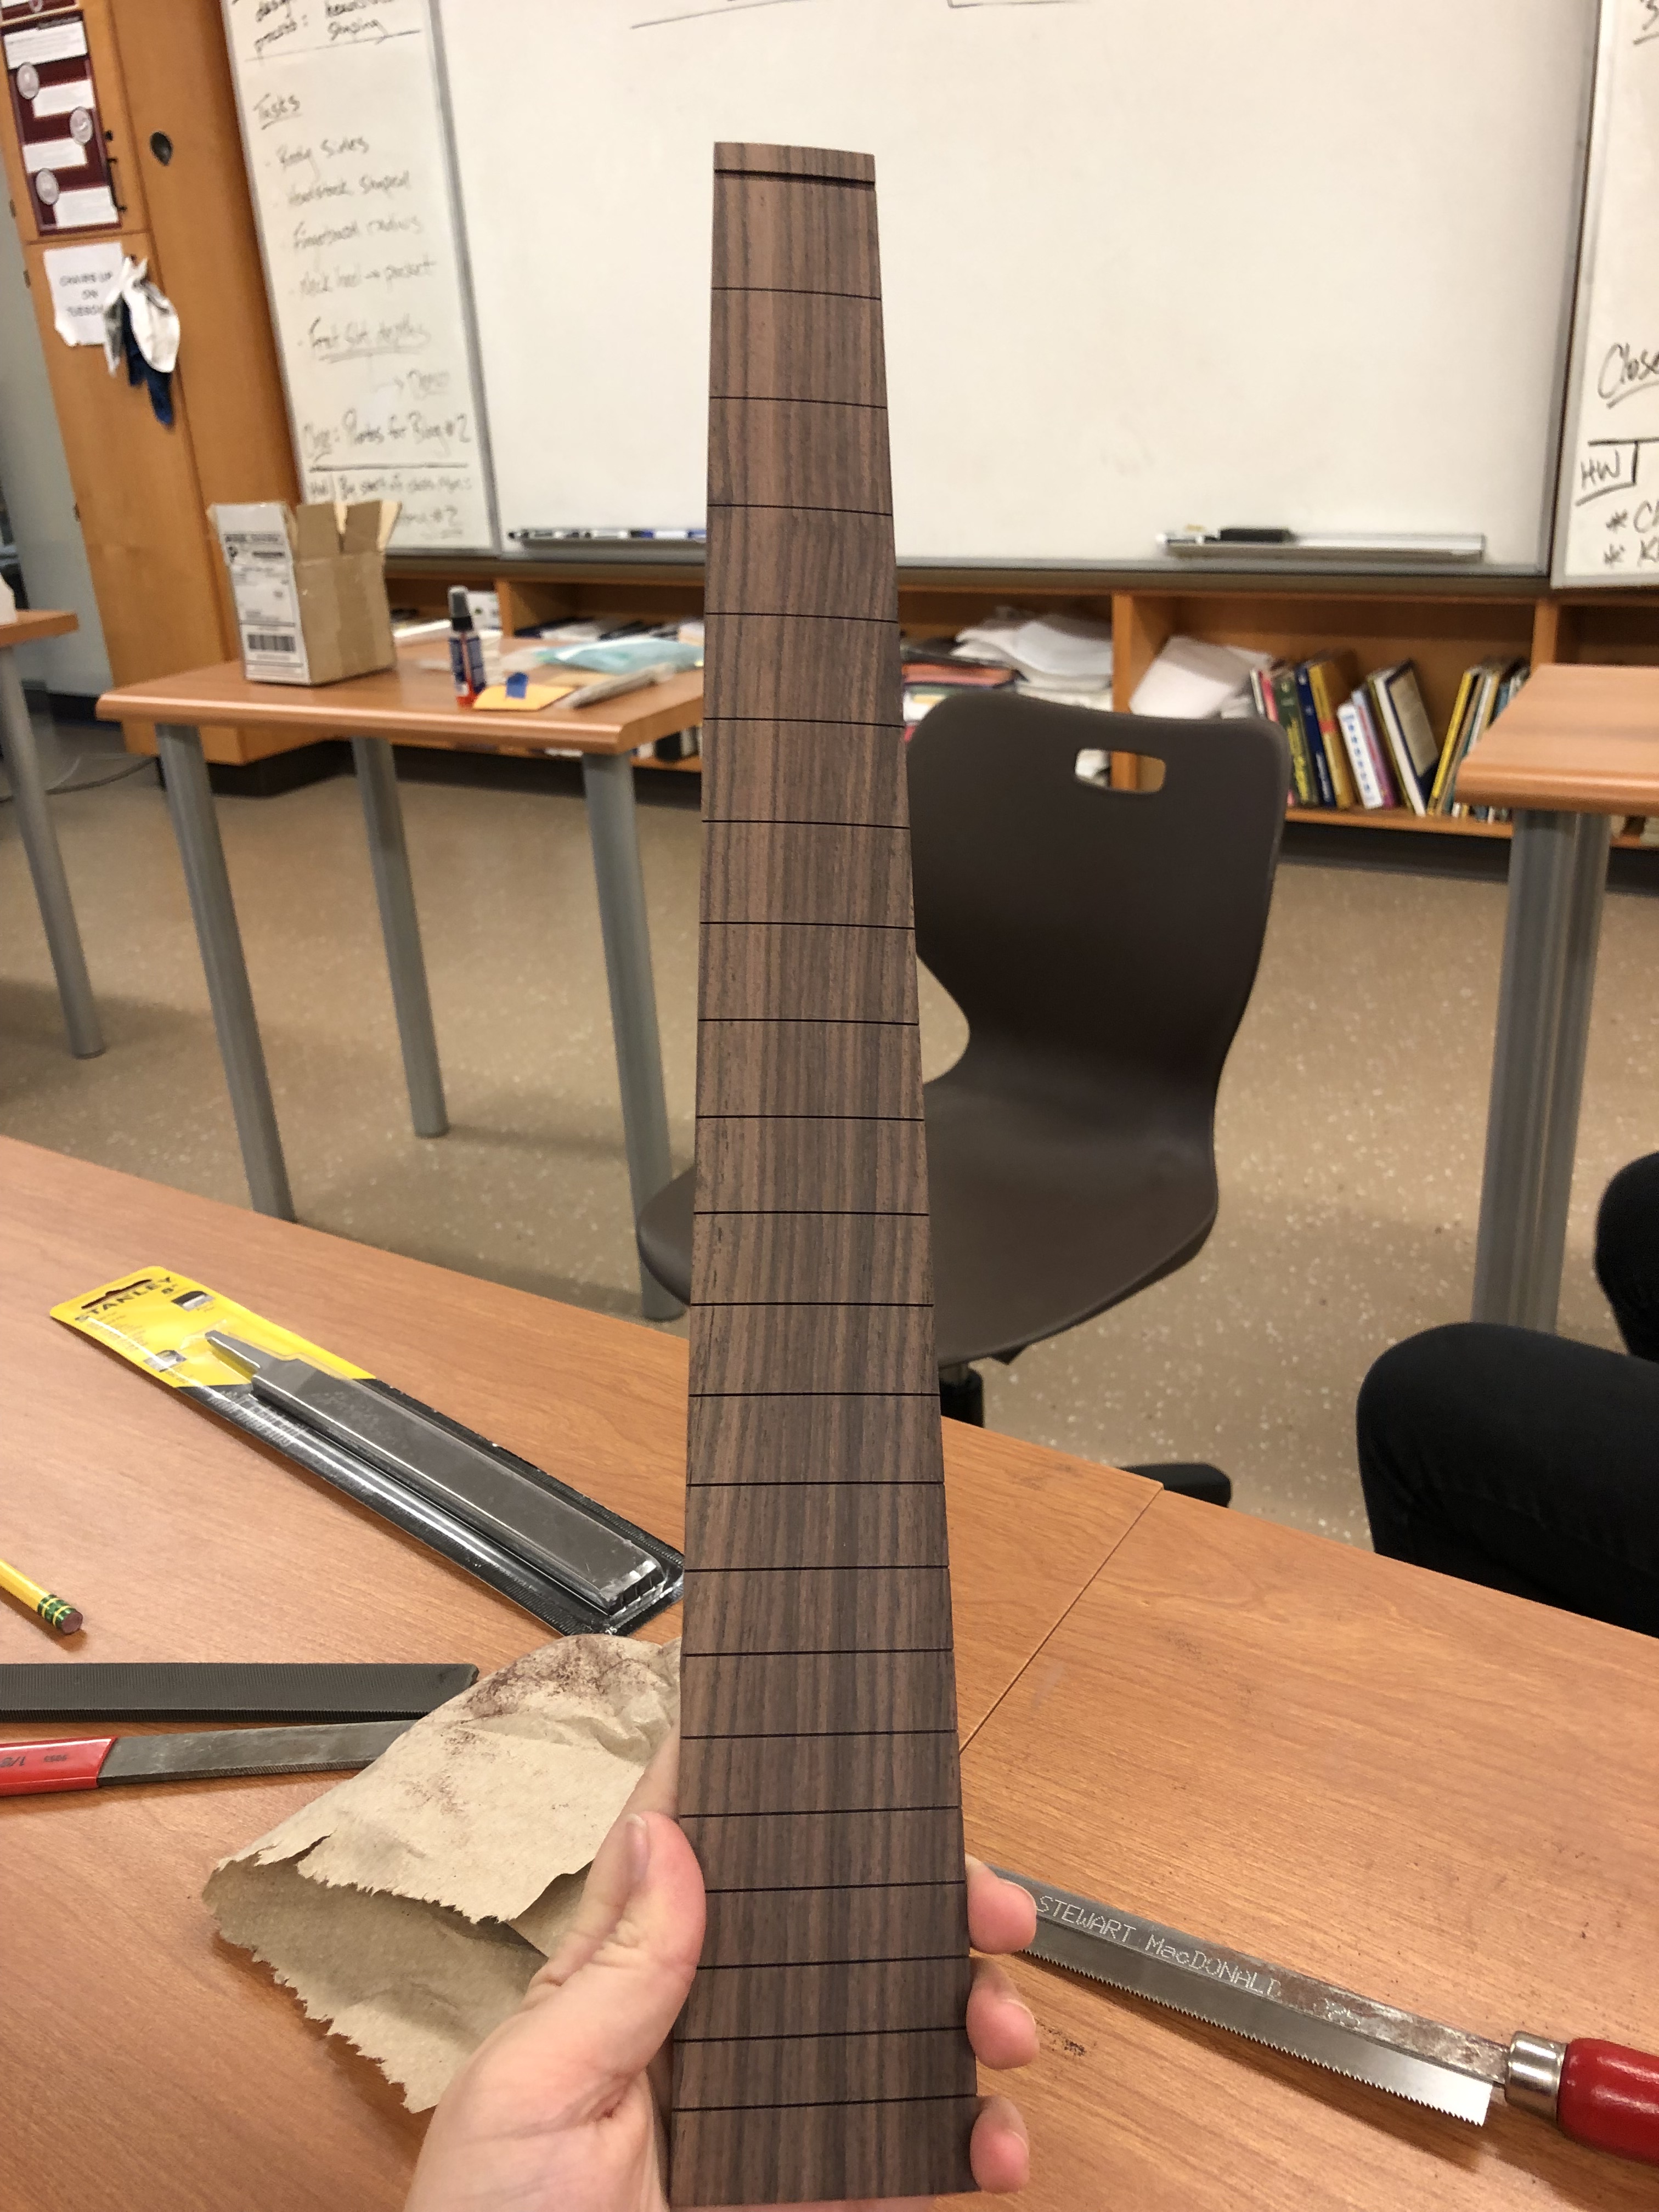
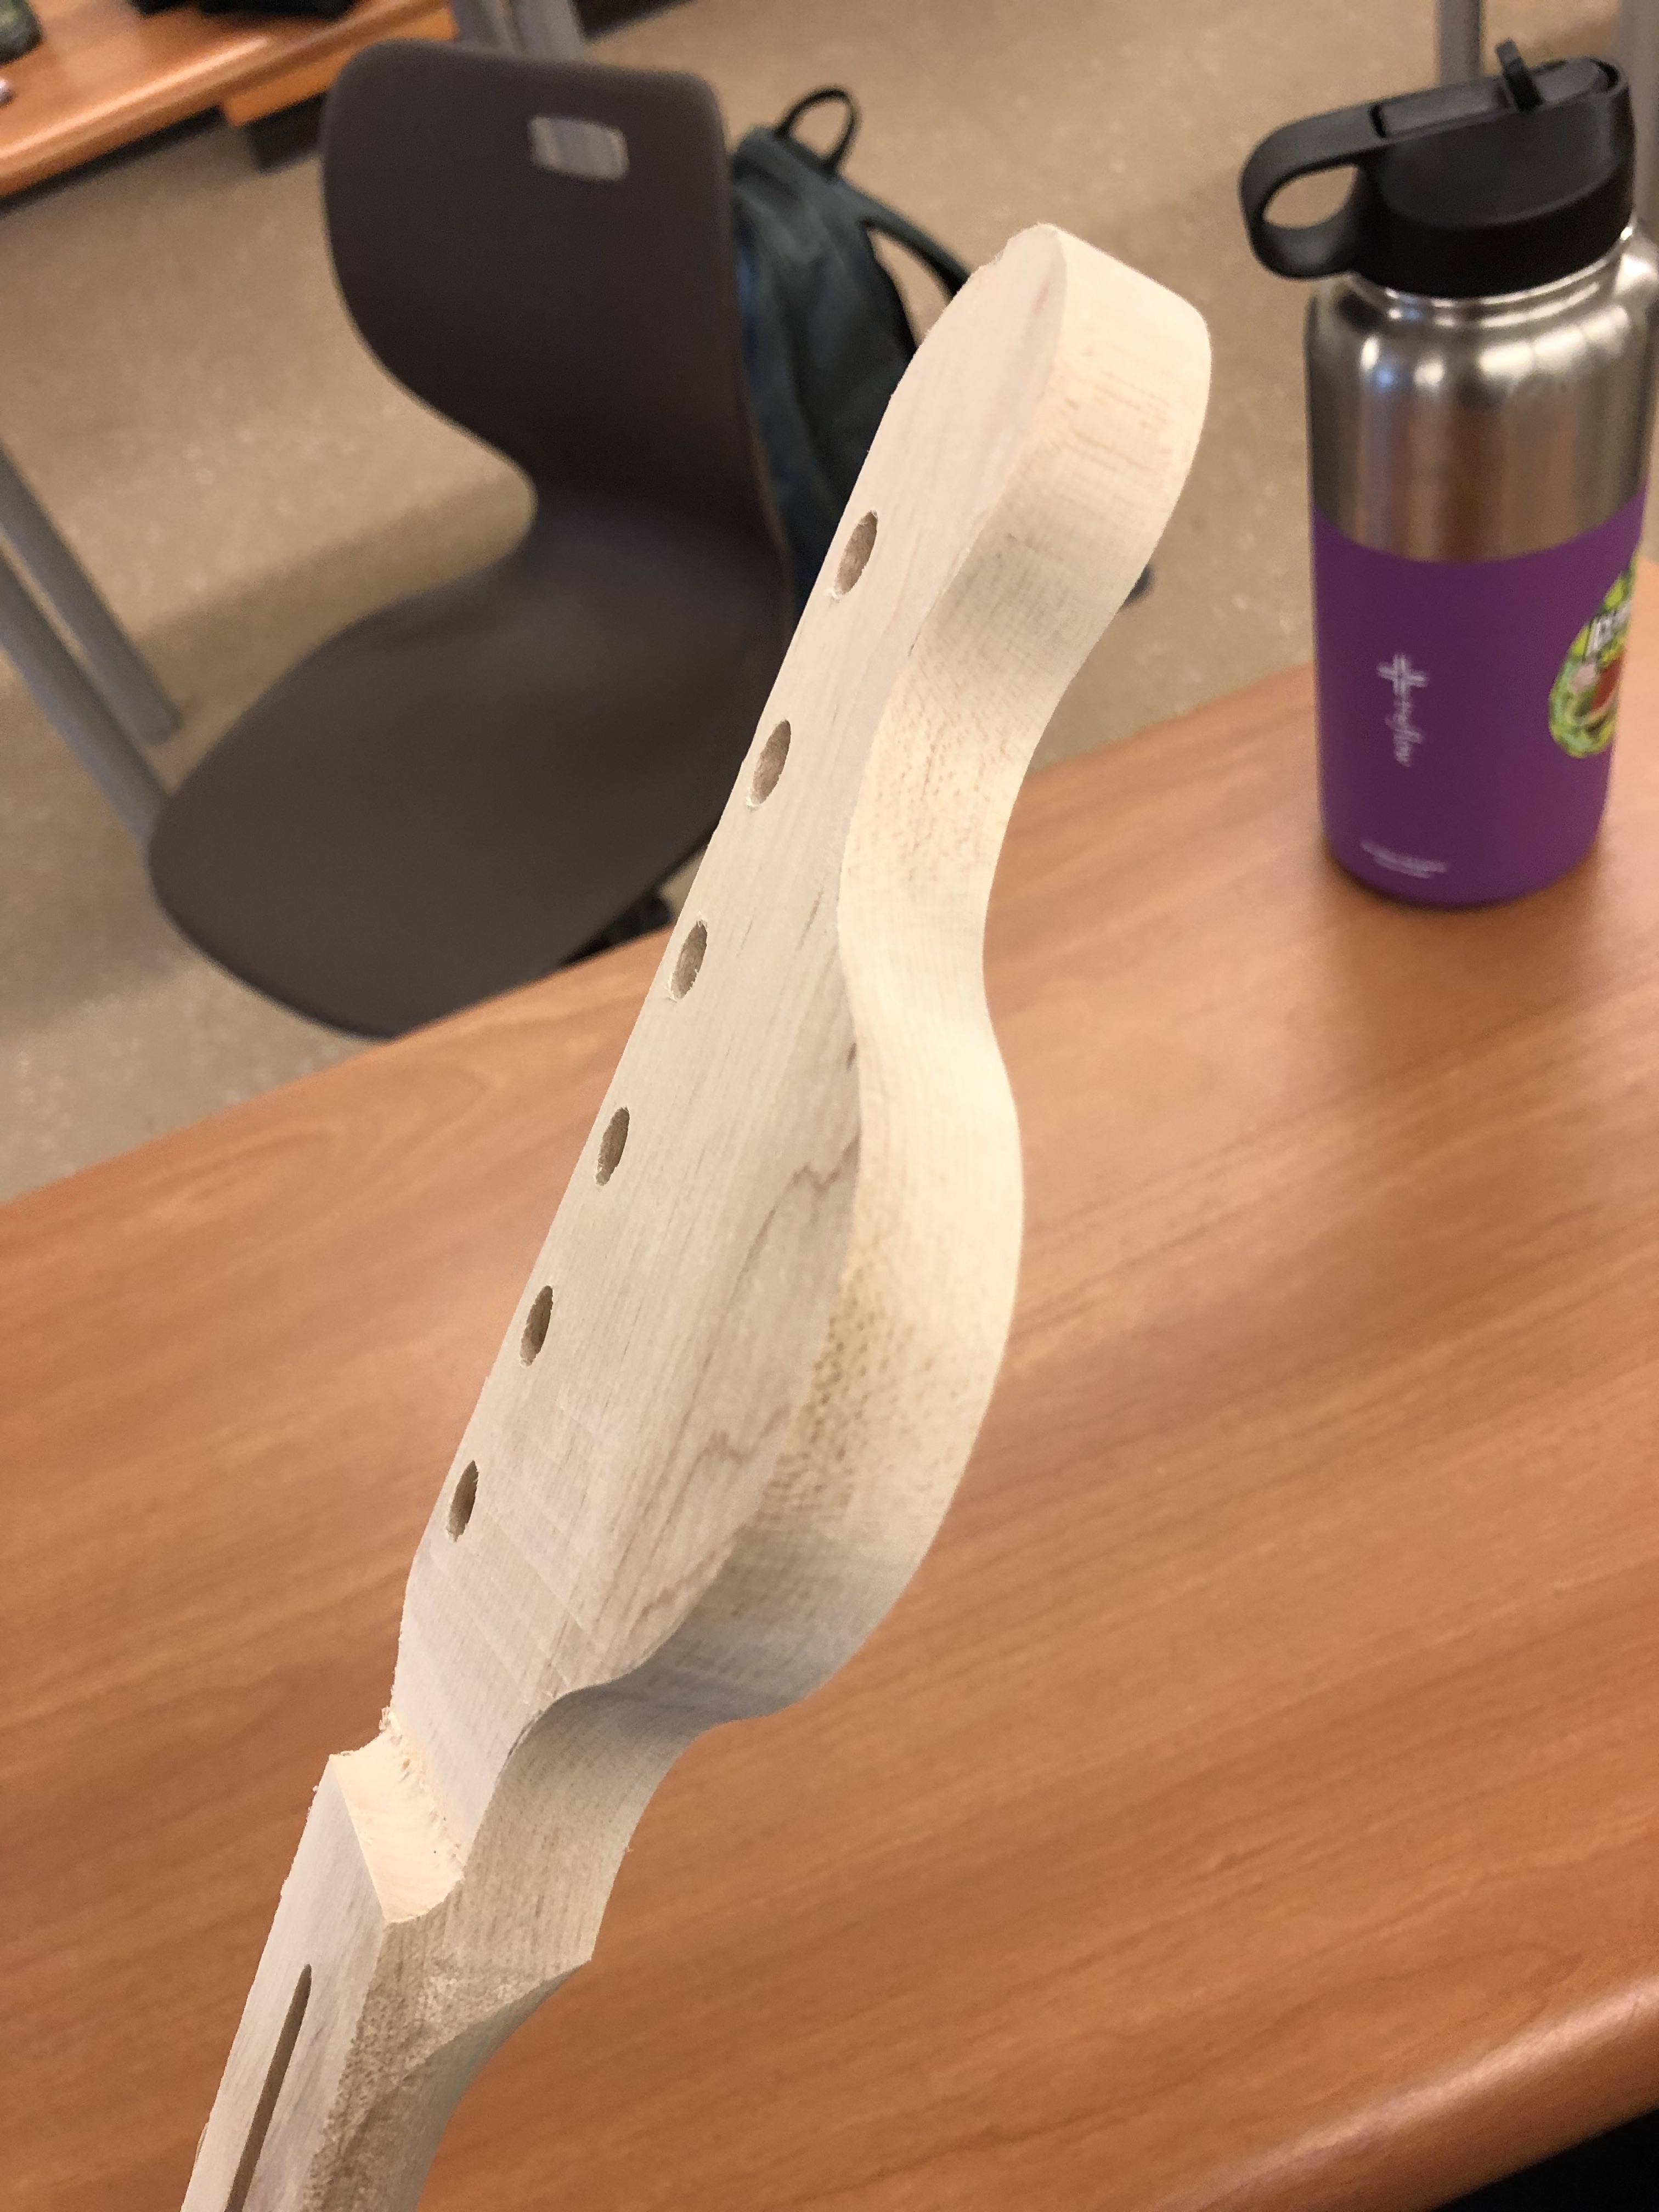
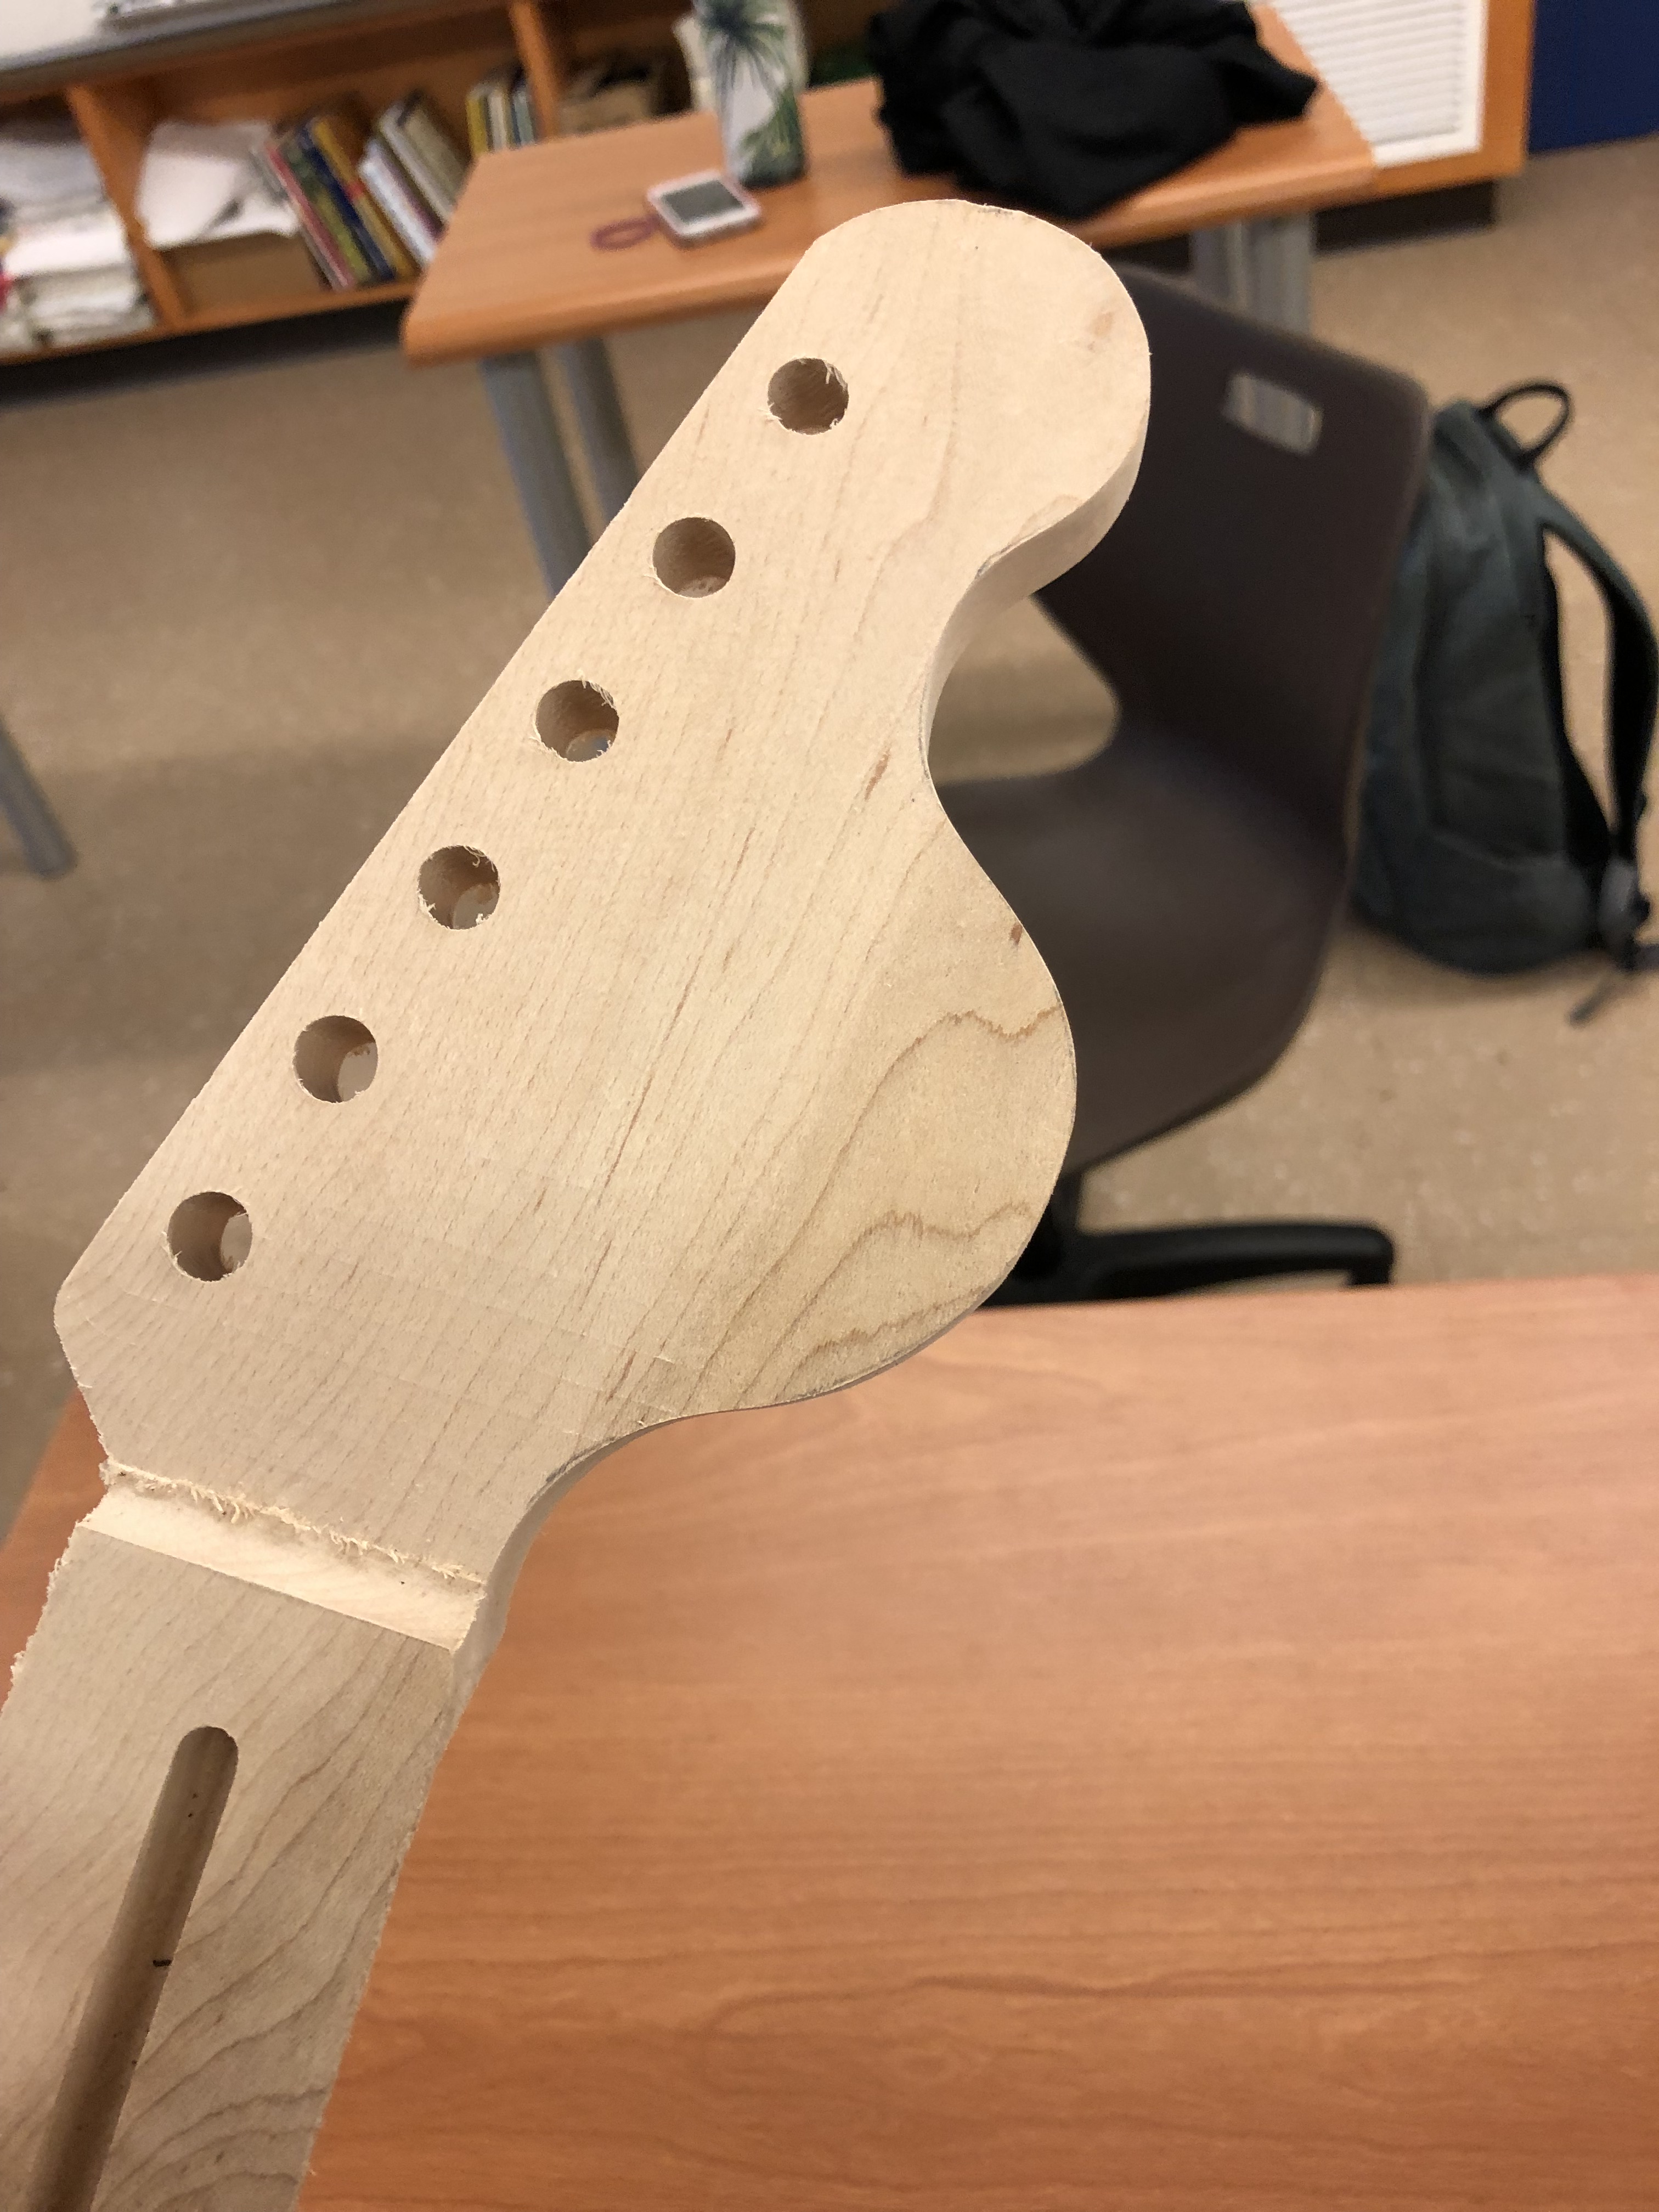
Accomplishments: This week I accomplished sanding my headstock and fitting the neck into the body of the guitar, I also started sanding the body of the guitar. I cleaned out my fingerboard and made all the fret slots the same size.

Tools: I used the belt sander, a block sander, a spindle sander, a fret saw, and Mr. McCormack’s special fret checker.

Learned: I learned that all the fret slots had to be the same size, and that the frets had to be positioned at the same level or else it would shake if you plucked it. 

fret board after sanding

Week One: Getting Started

Finally starting the guitar build!! Started sanding my fingerboard, its going pretty well, its a slow process though, we have to sand a 12 inch radius. I also cut off the access of the headstock off my guitar and traced the shape I will eventually cut out of my headstock. For cutting off the access we used the bandsaw which was a little scary but it was okay. For the sanding of the fingerboard we used sandpaper attached to a wood block. Those are the tools and the accomplishments I made this first week. I have already learned so much, like how to use a bandsaw and attach a spindle and belt to the sanding machine, and also I learned the parts of the guitar and how some of them worked. I am really excited to continue cutting out my guitar shape and sanding to make it actually look like something.  

This is the shape of my headstock
This is me sanding my fingerboard