Week 13

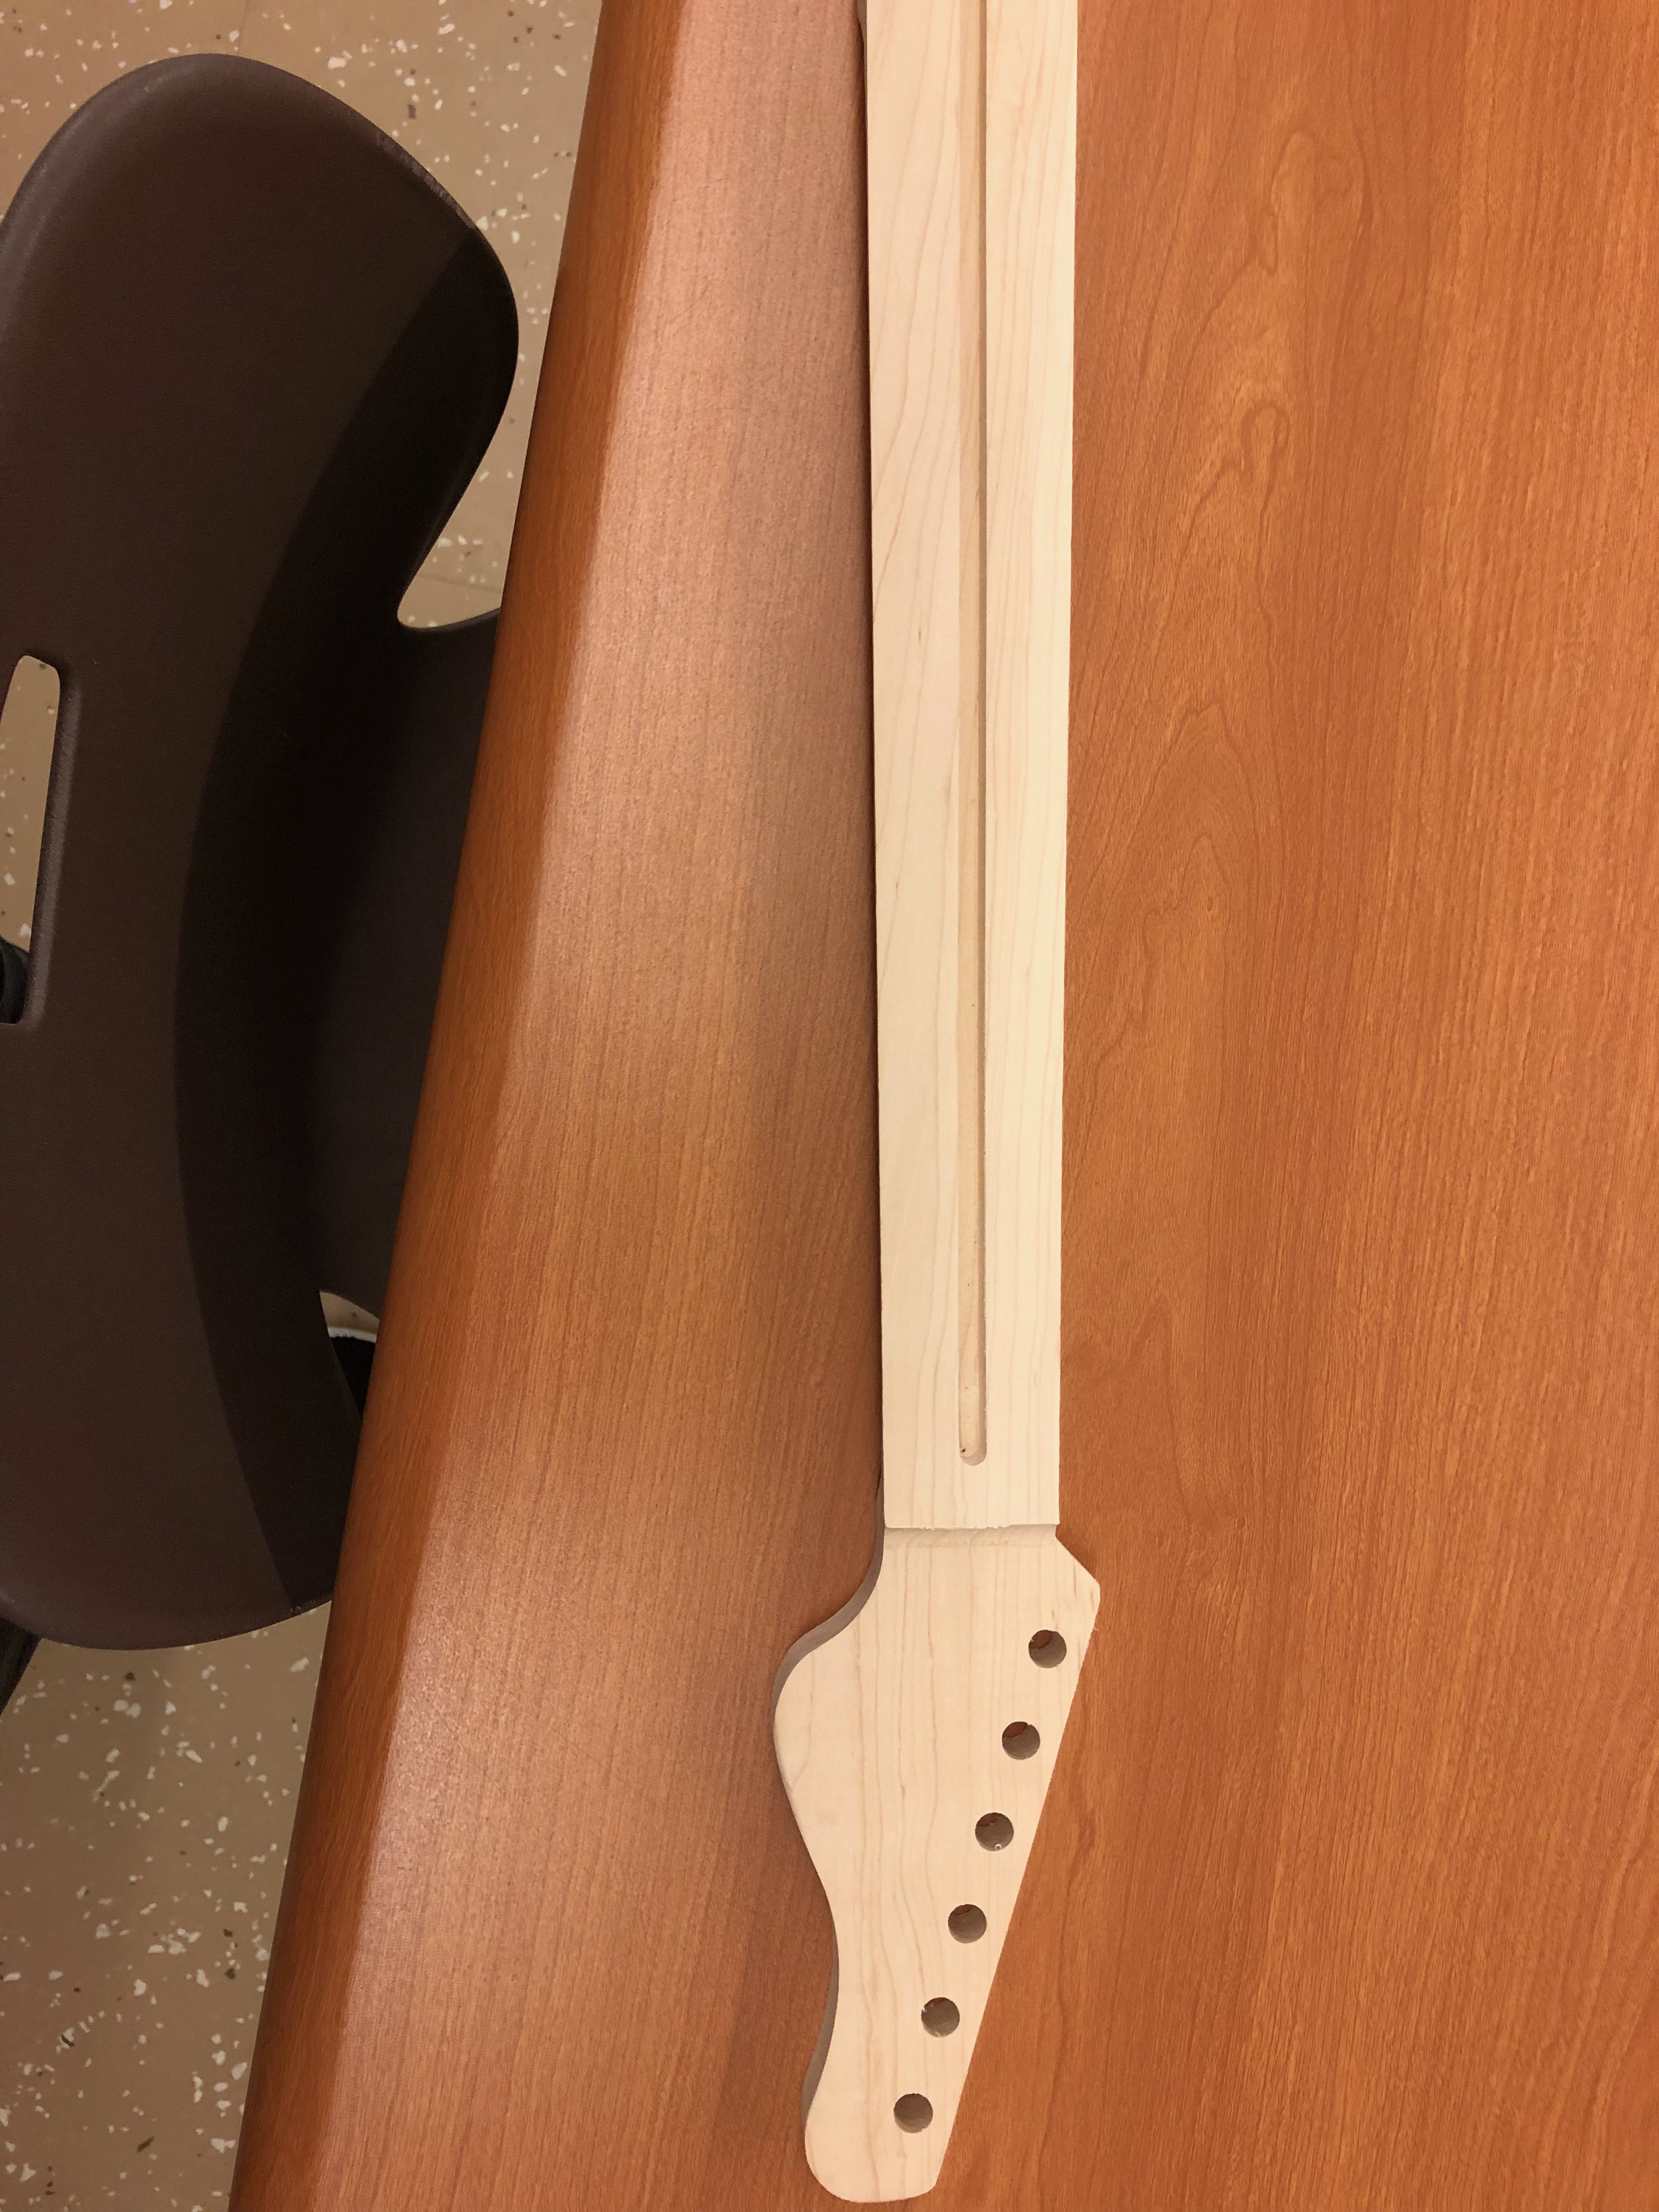
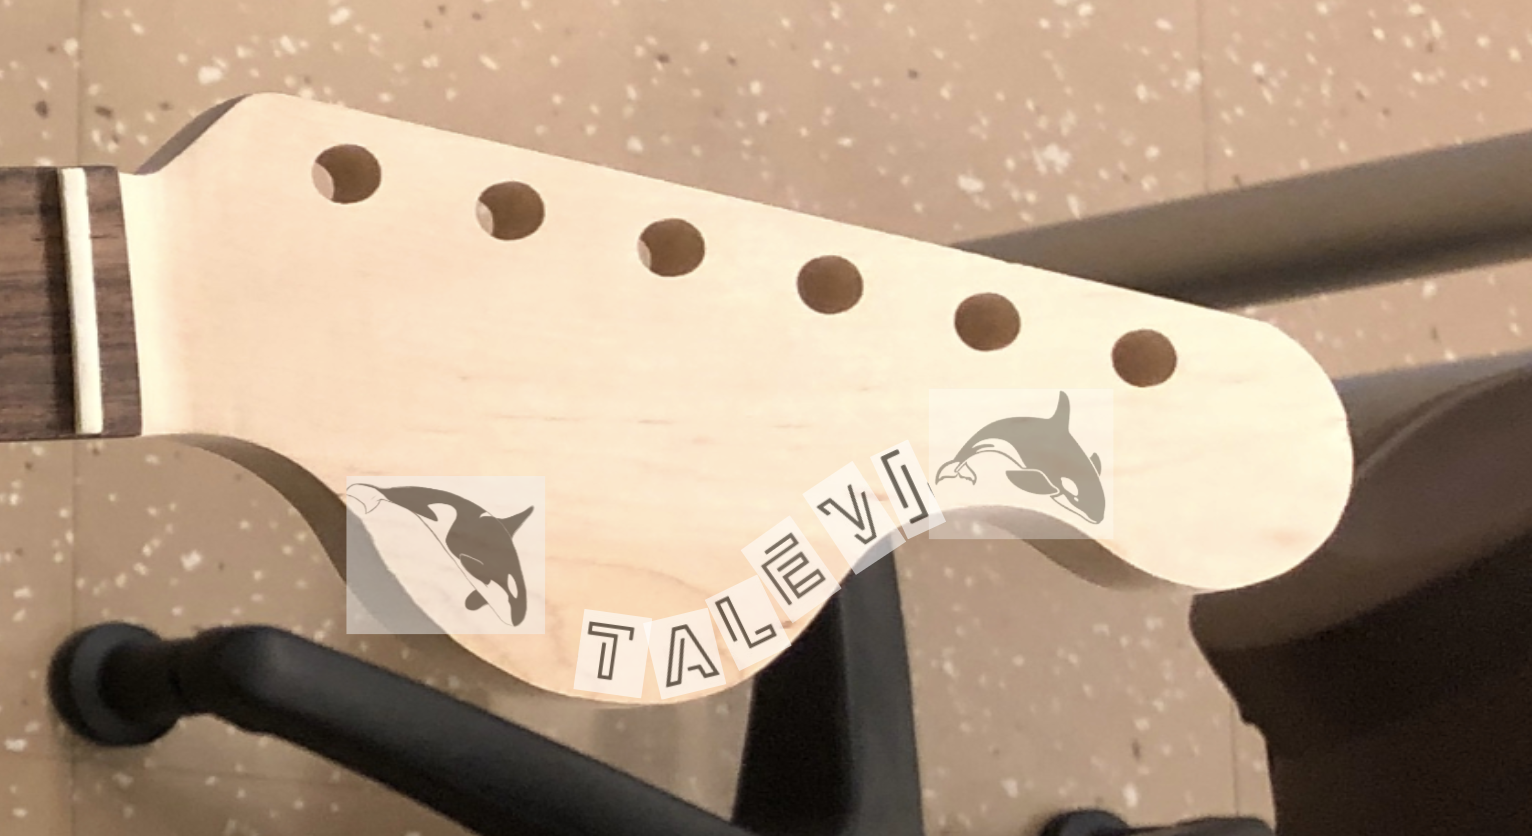
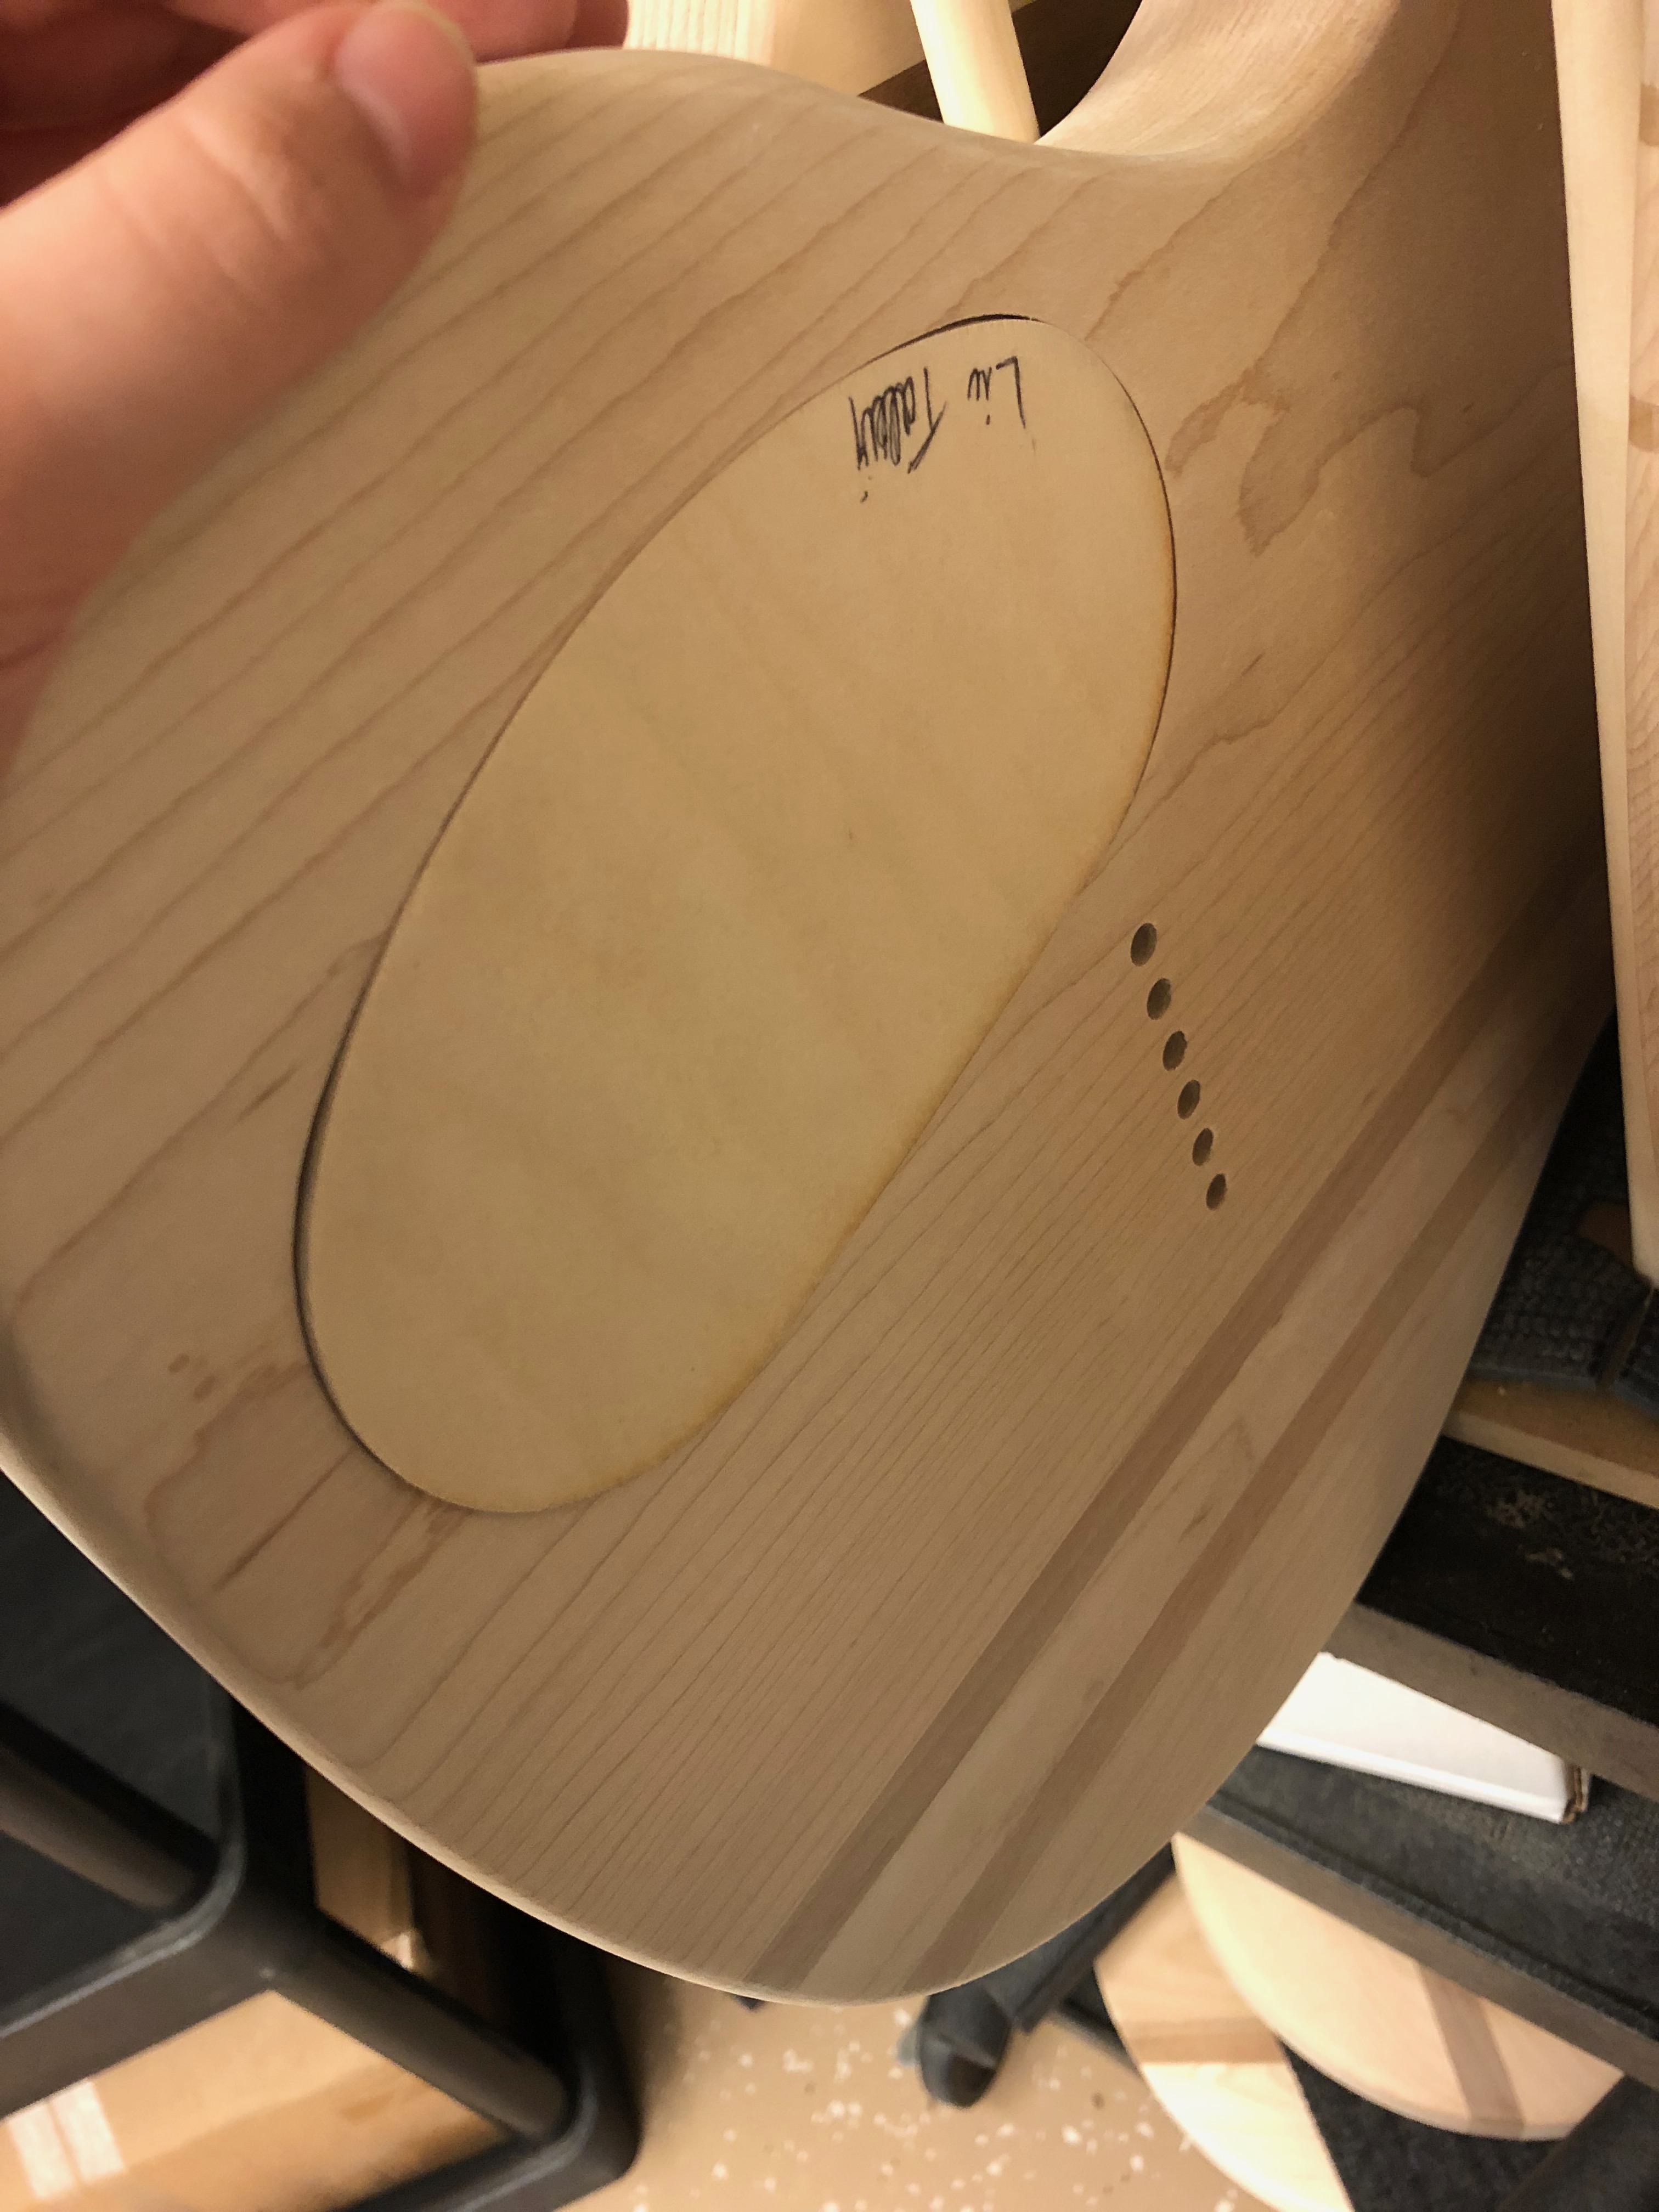
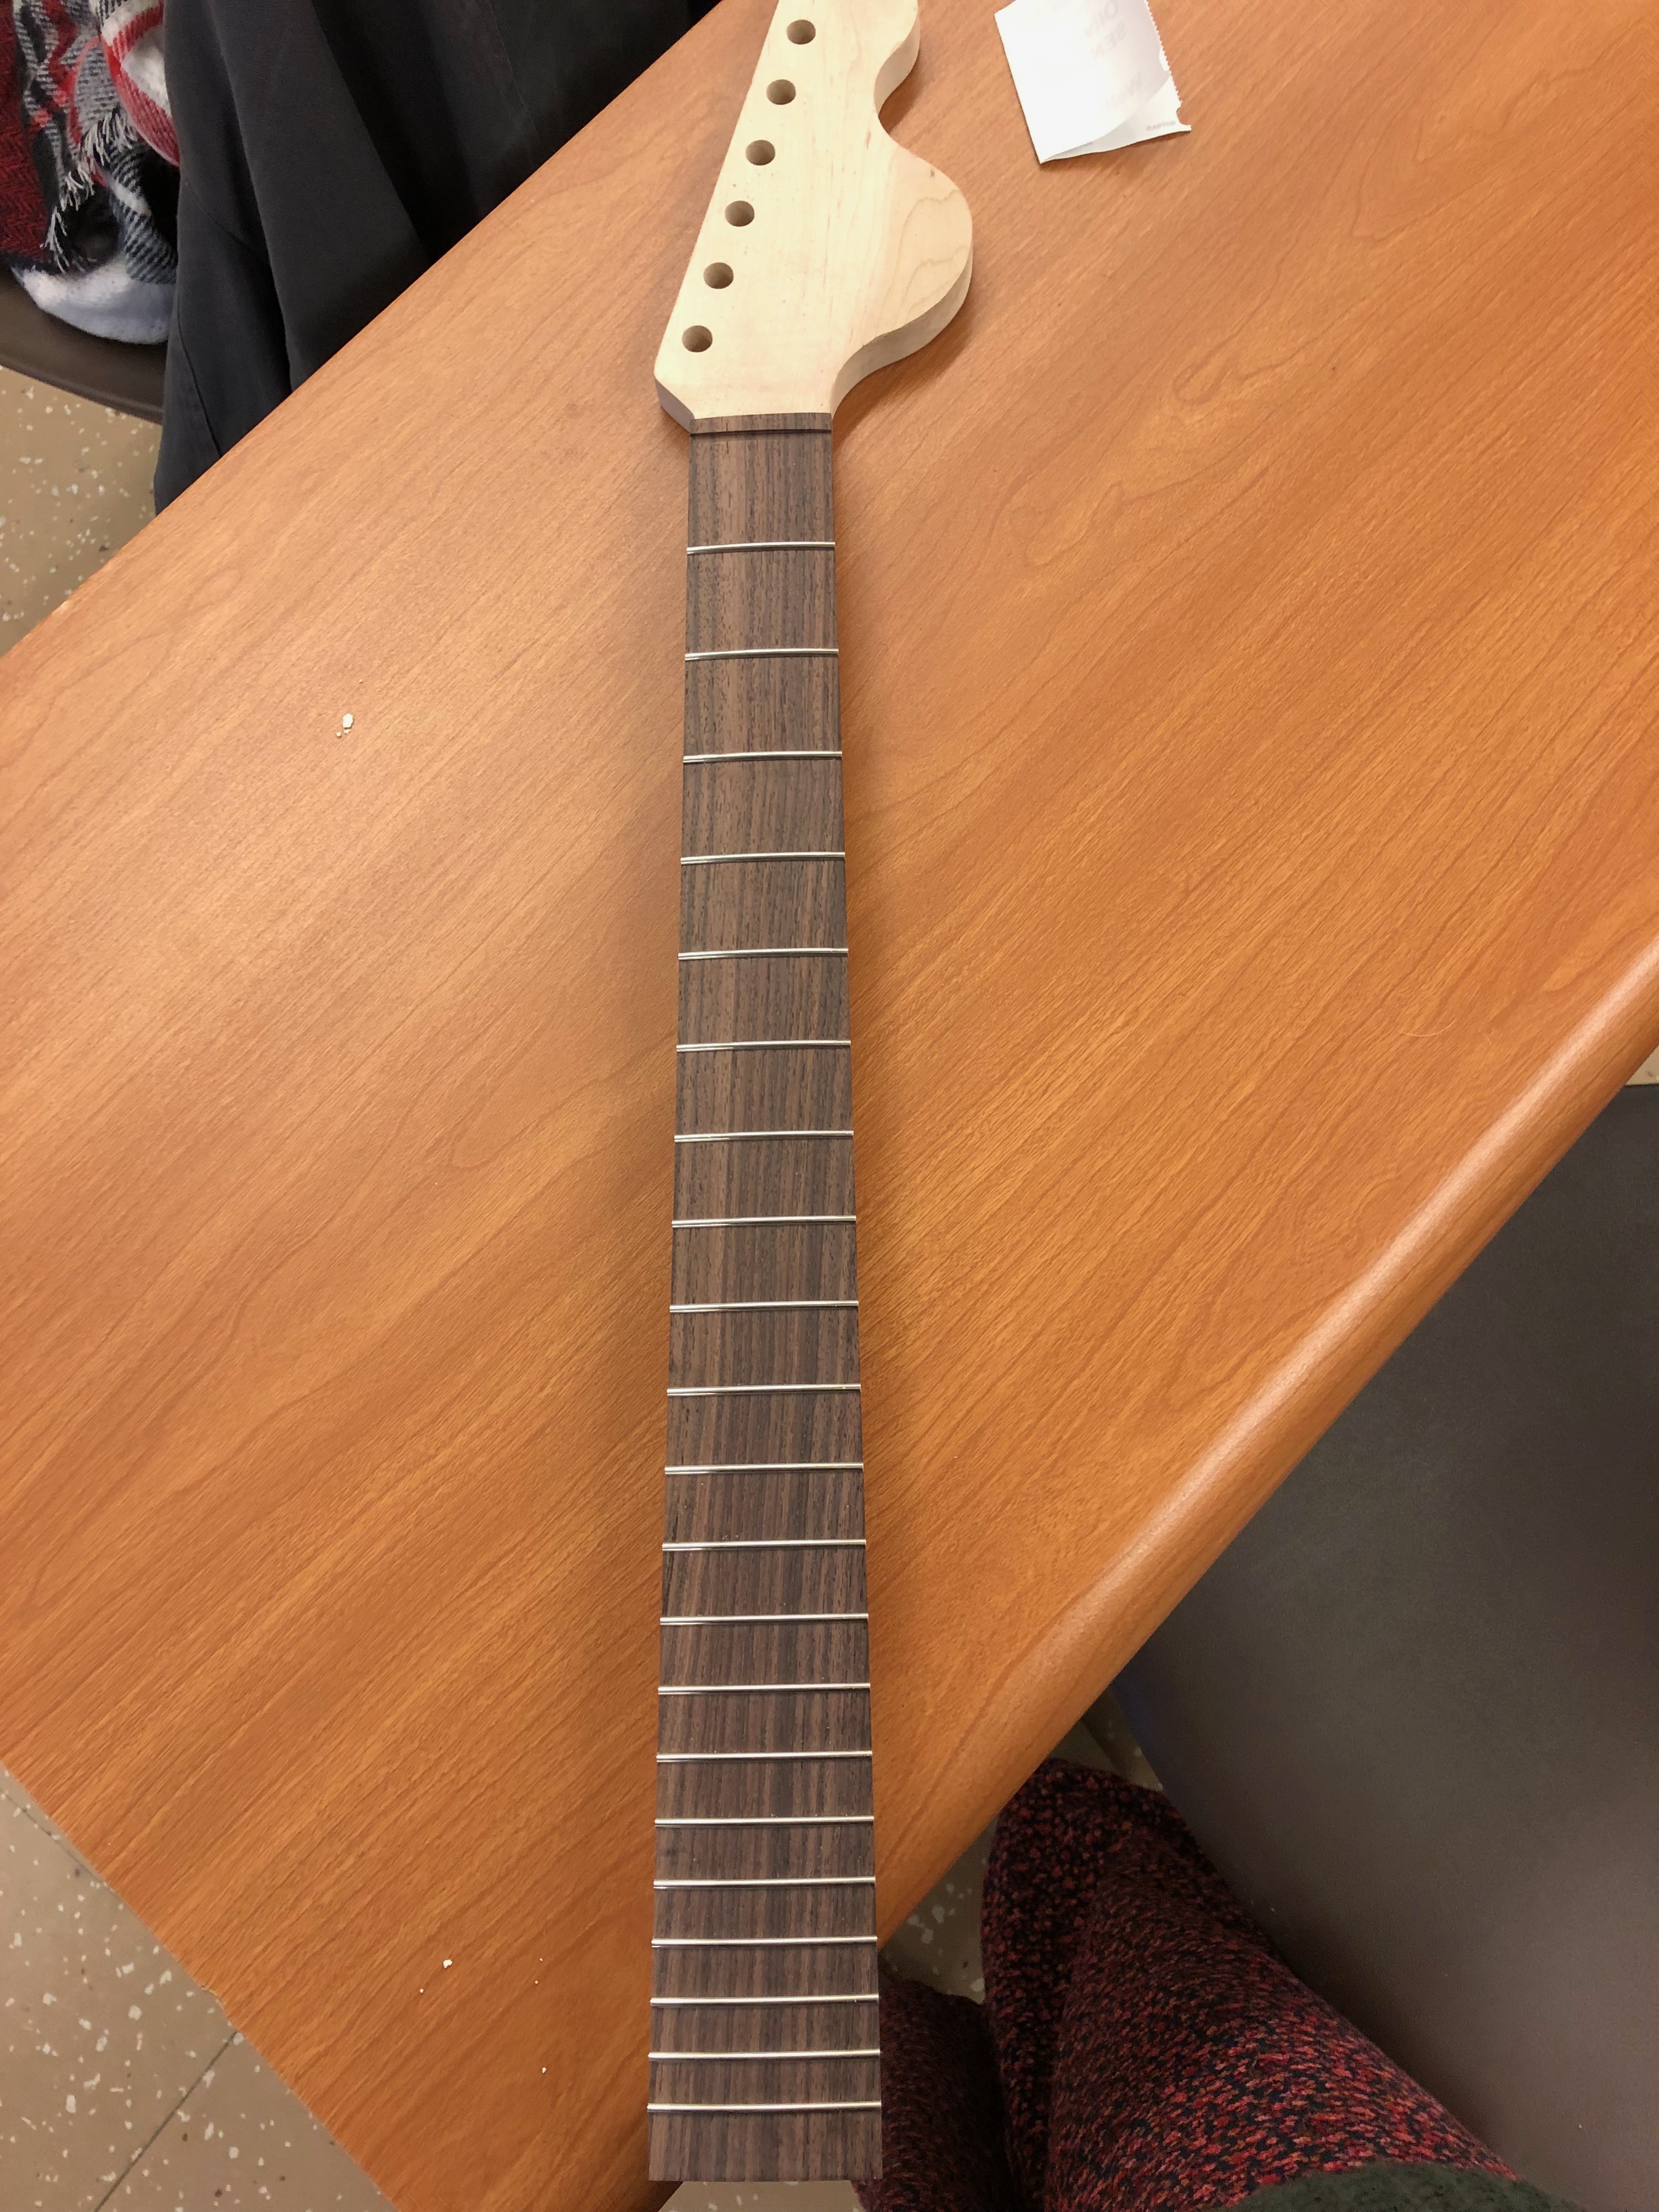
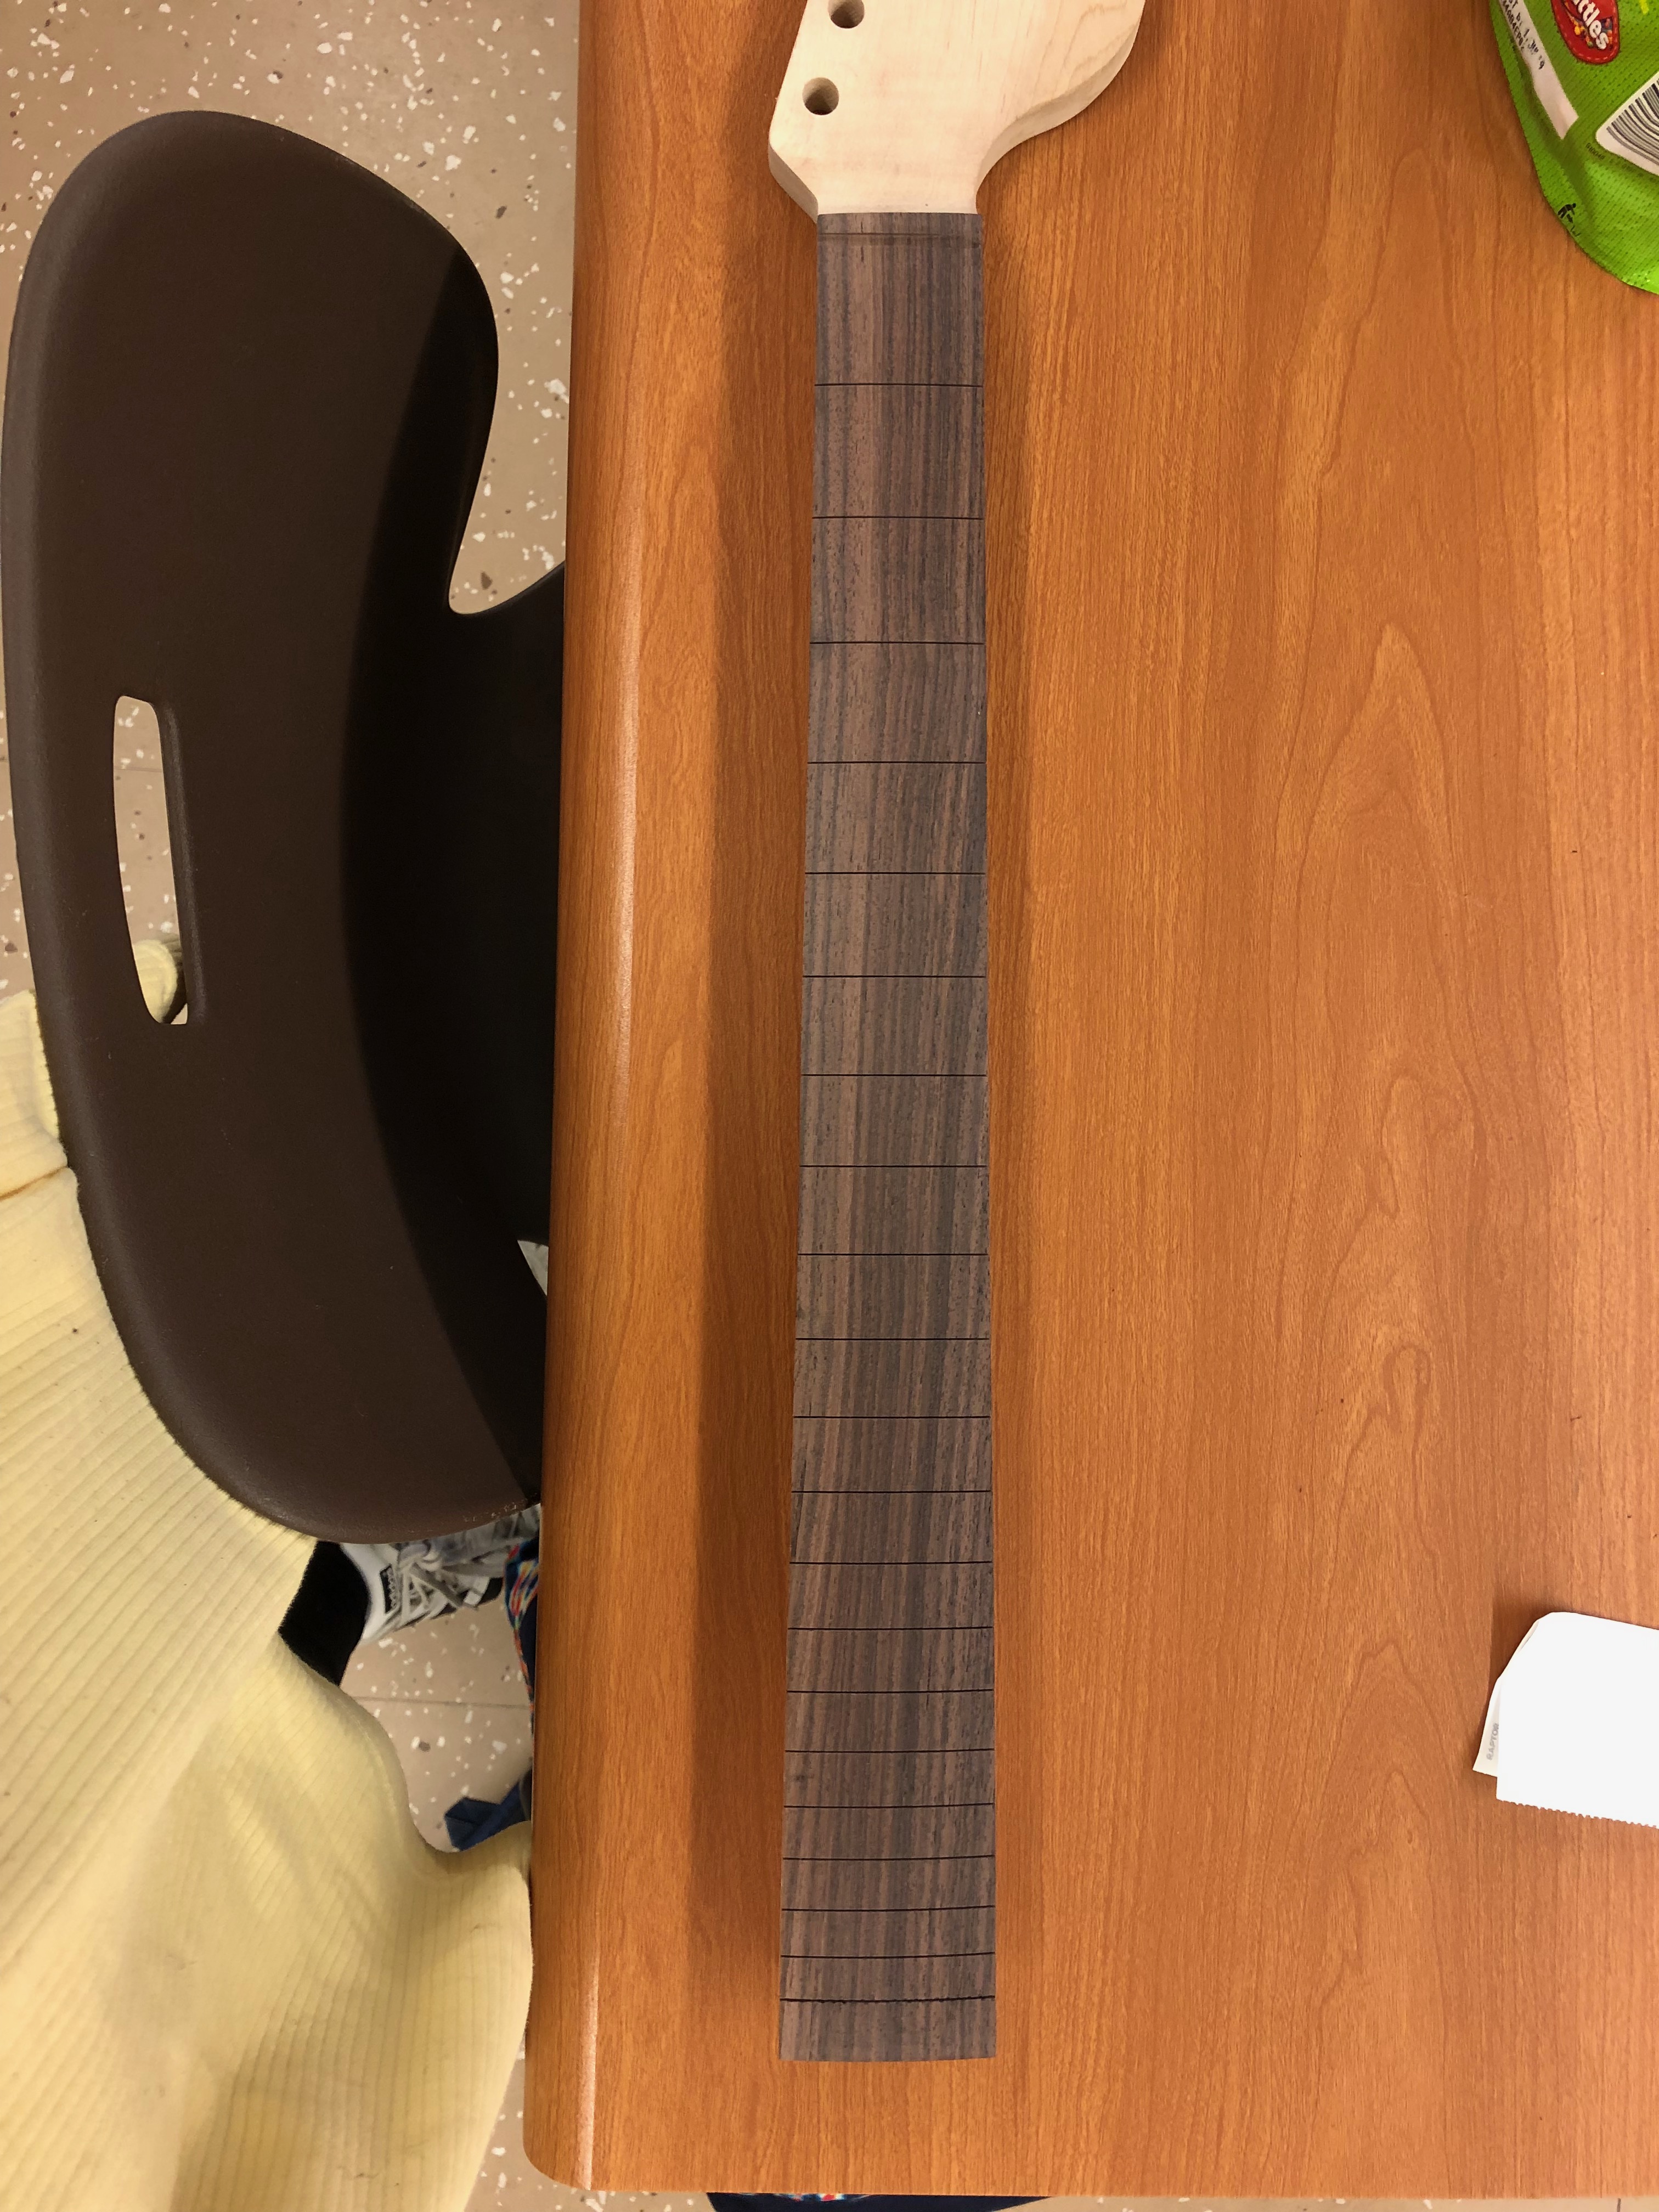
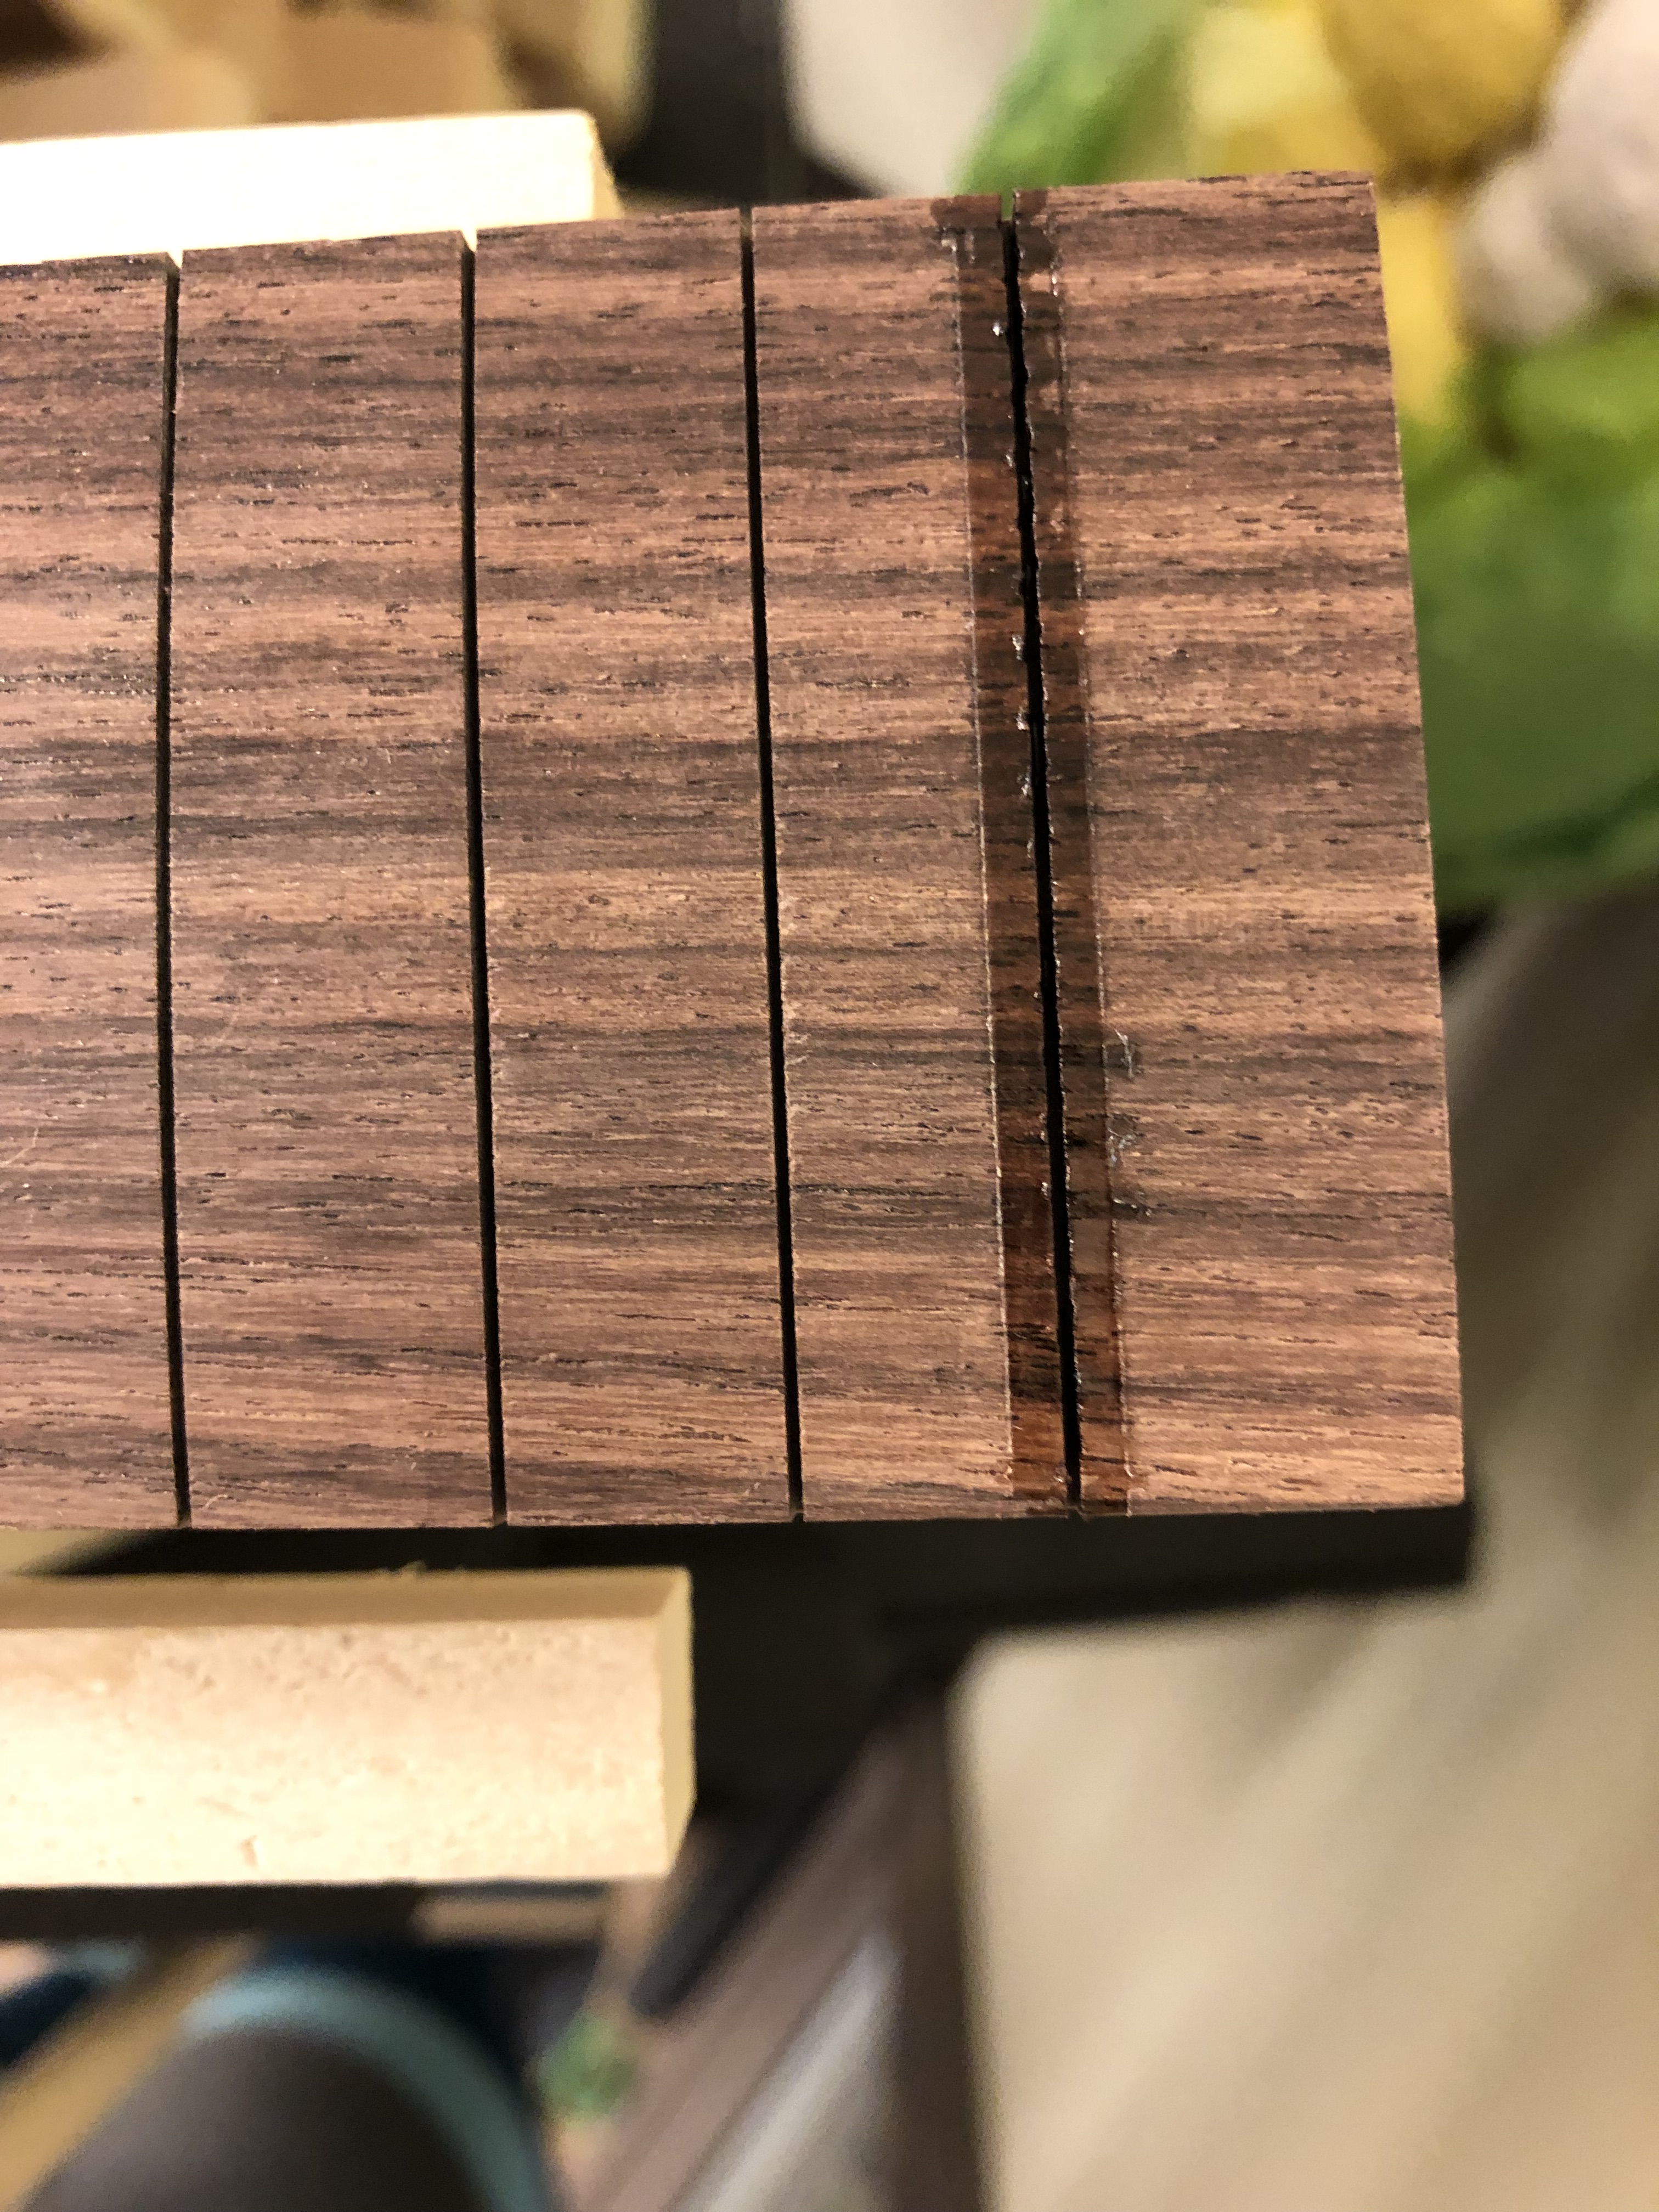
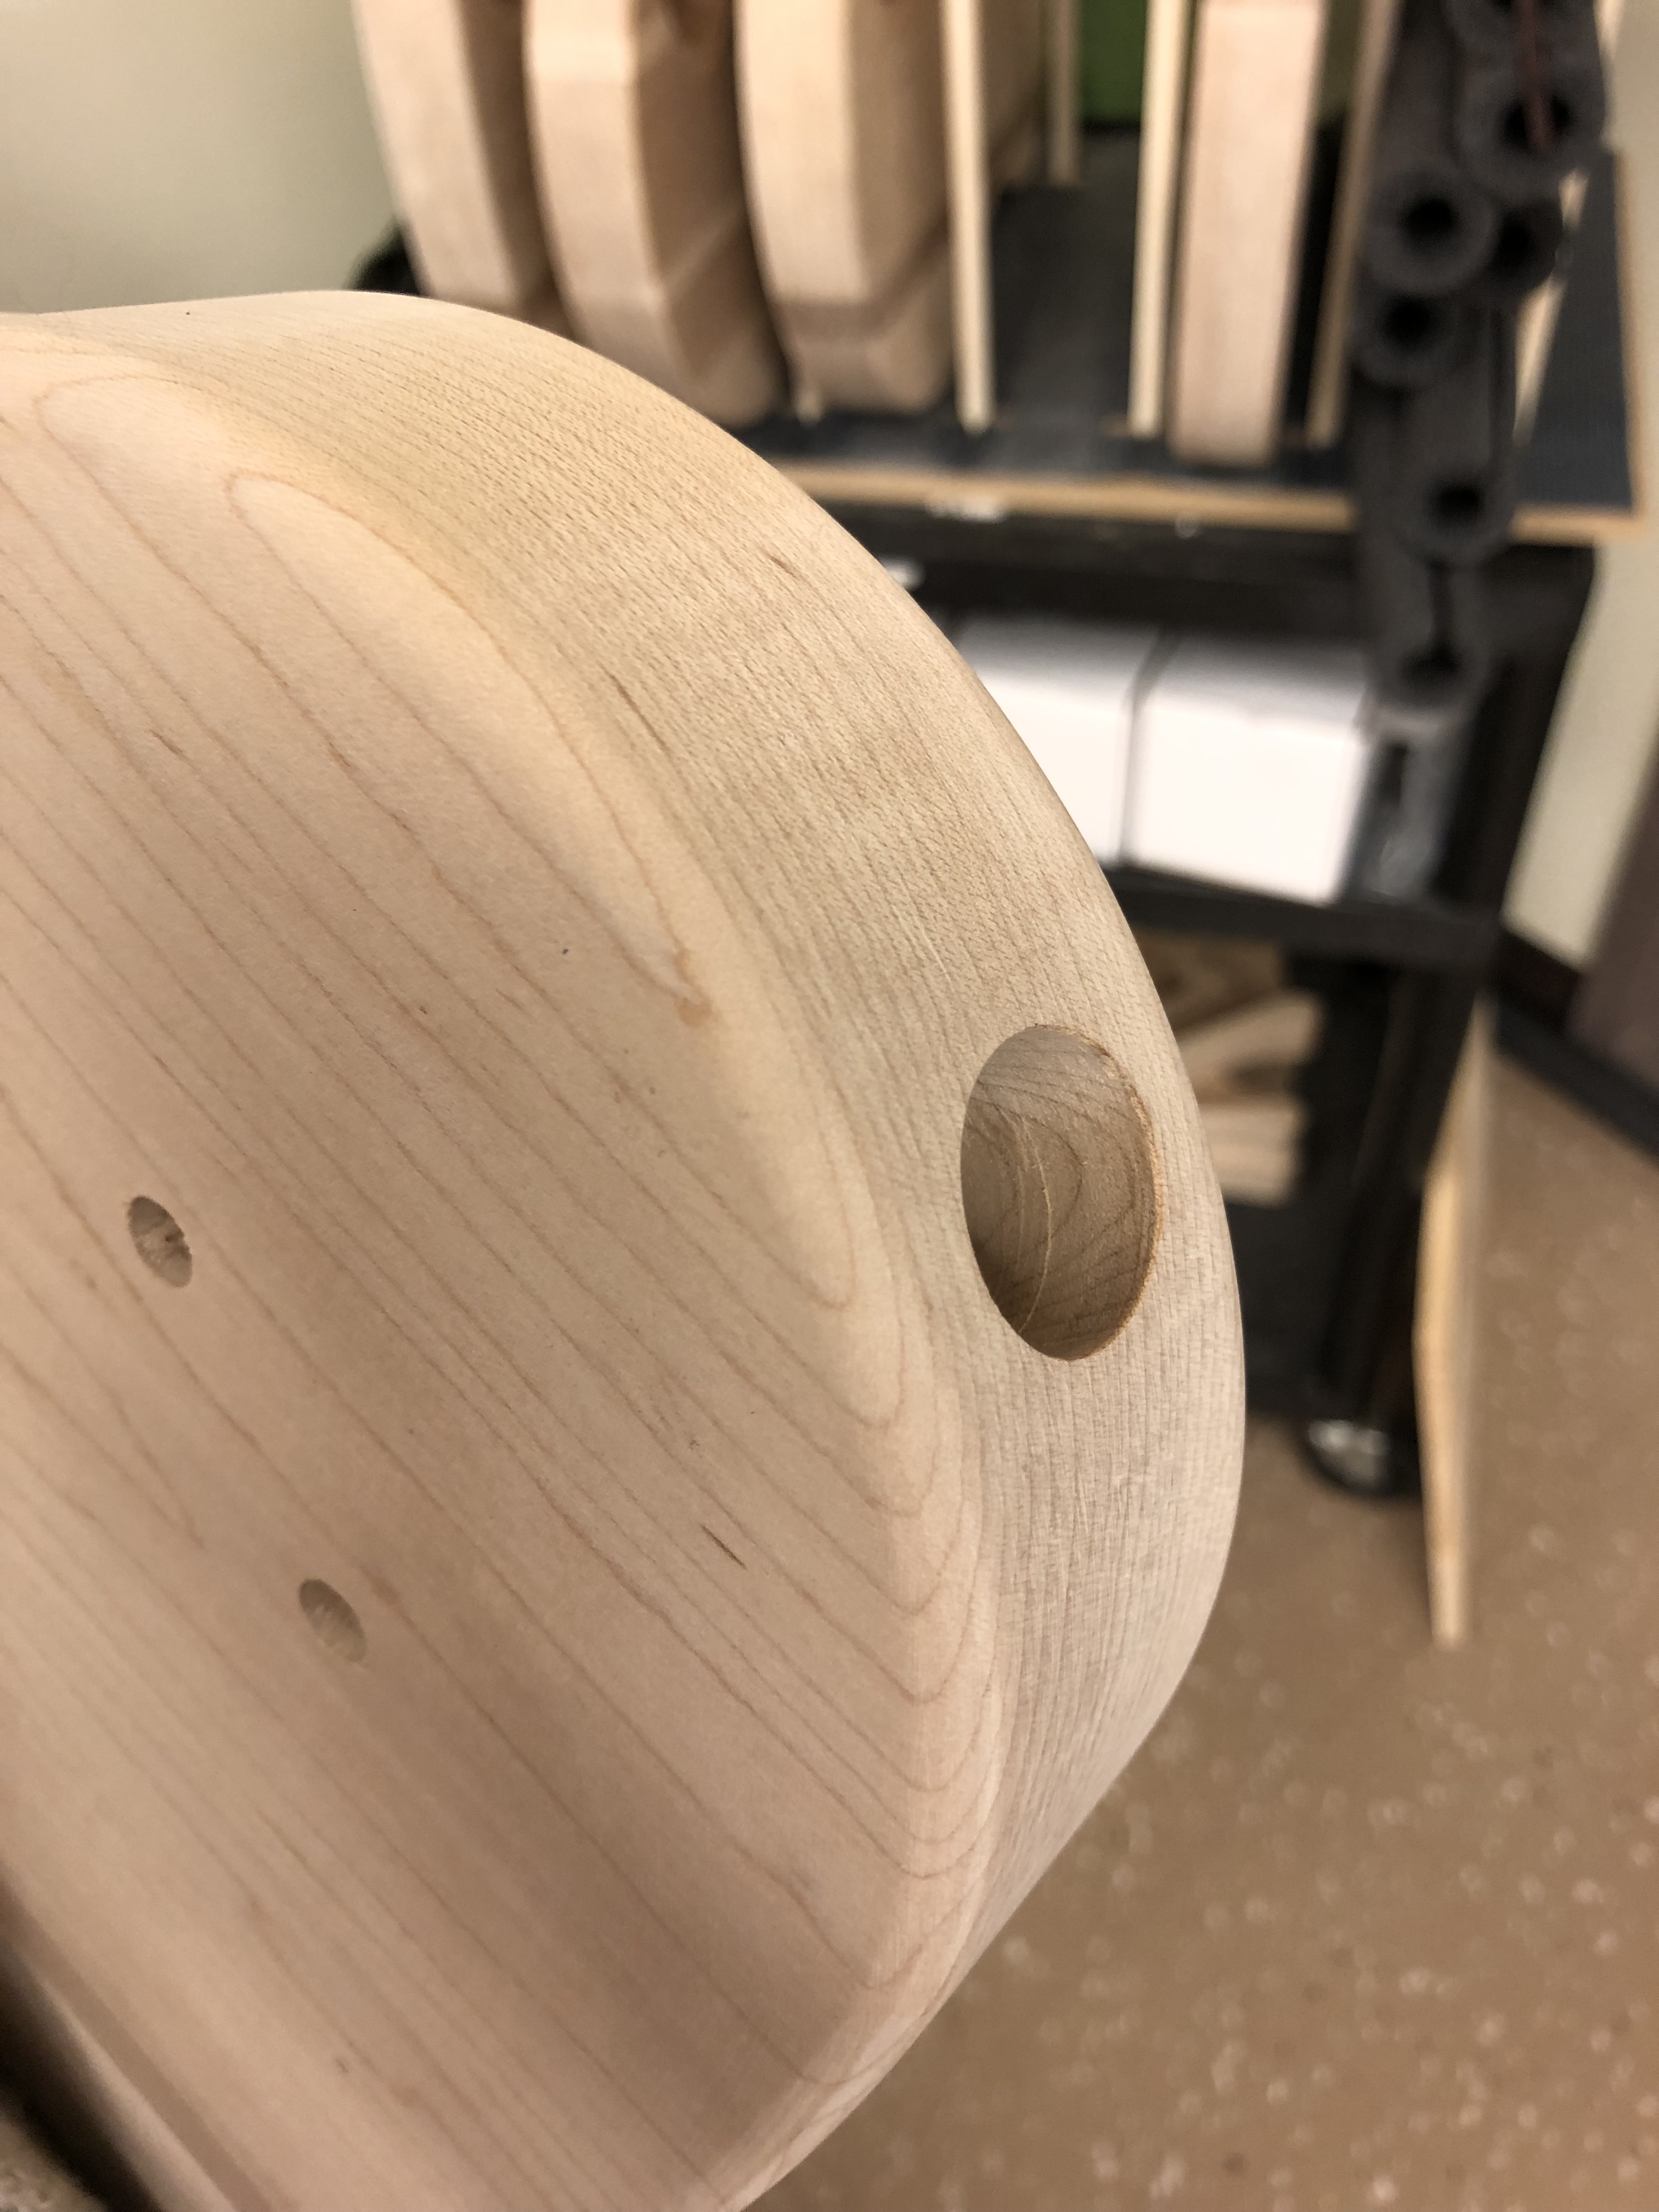
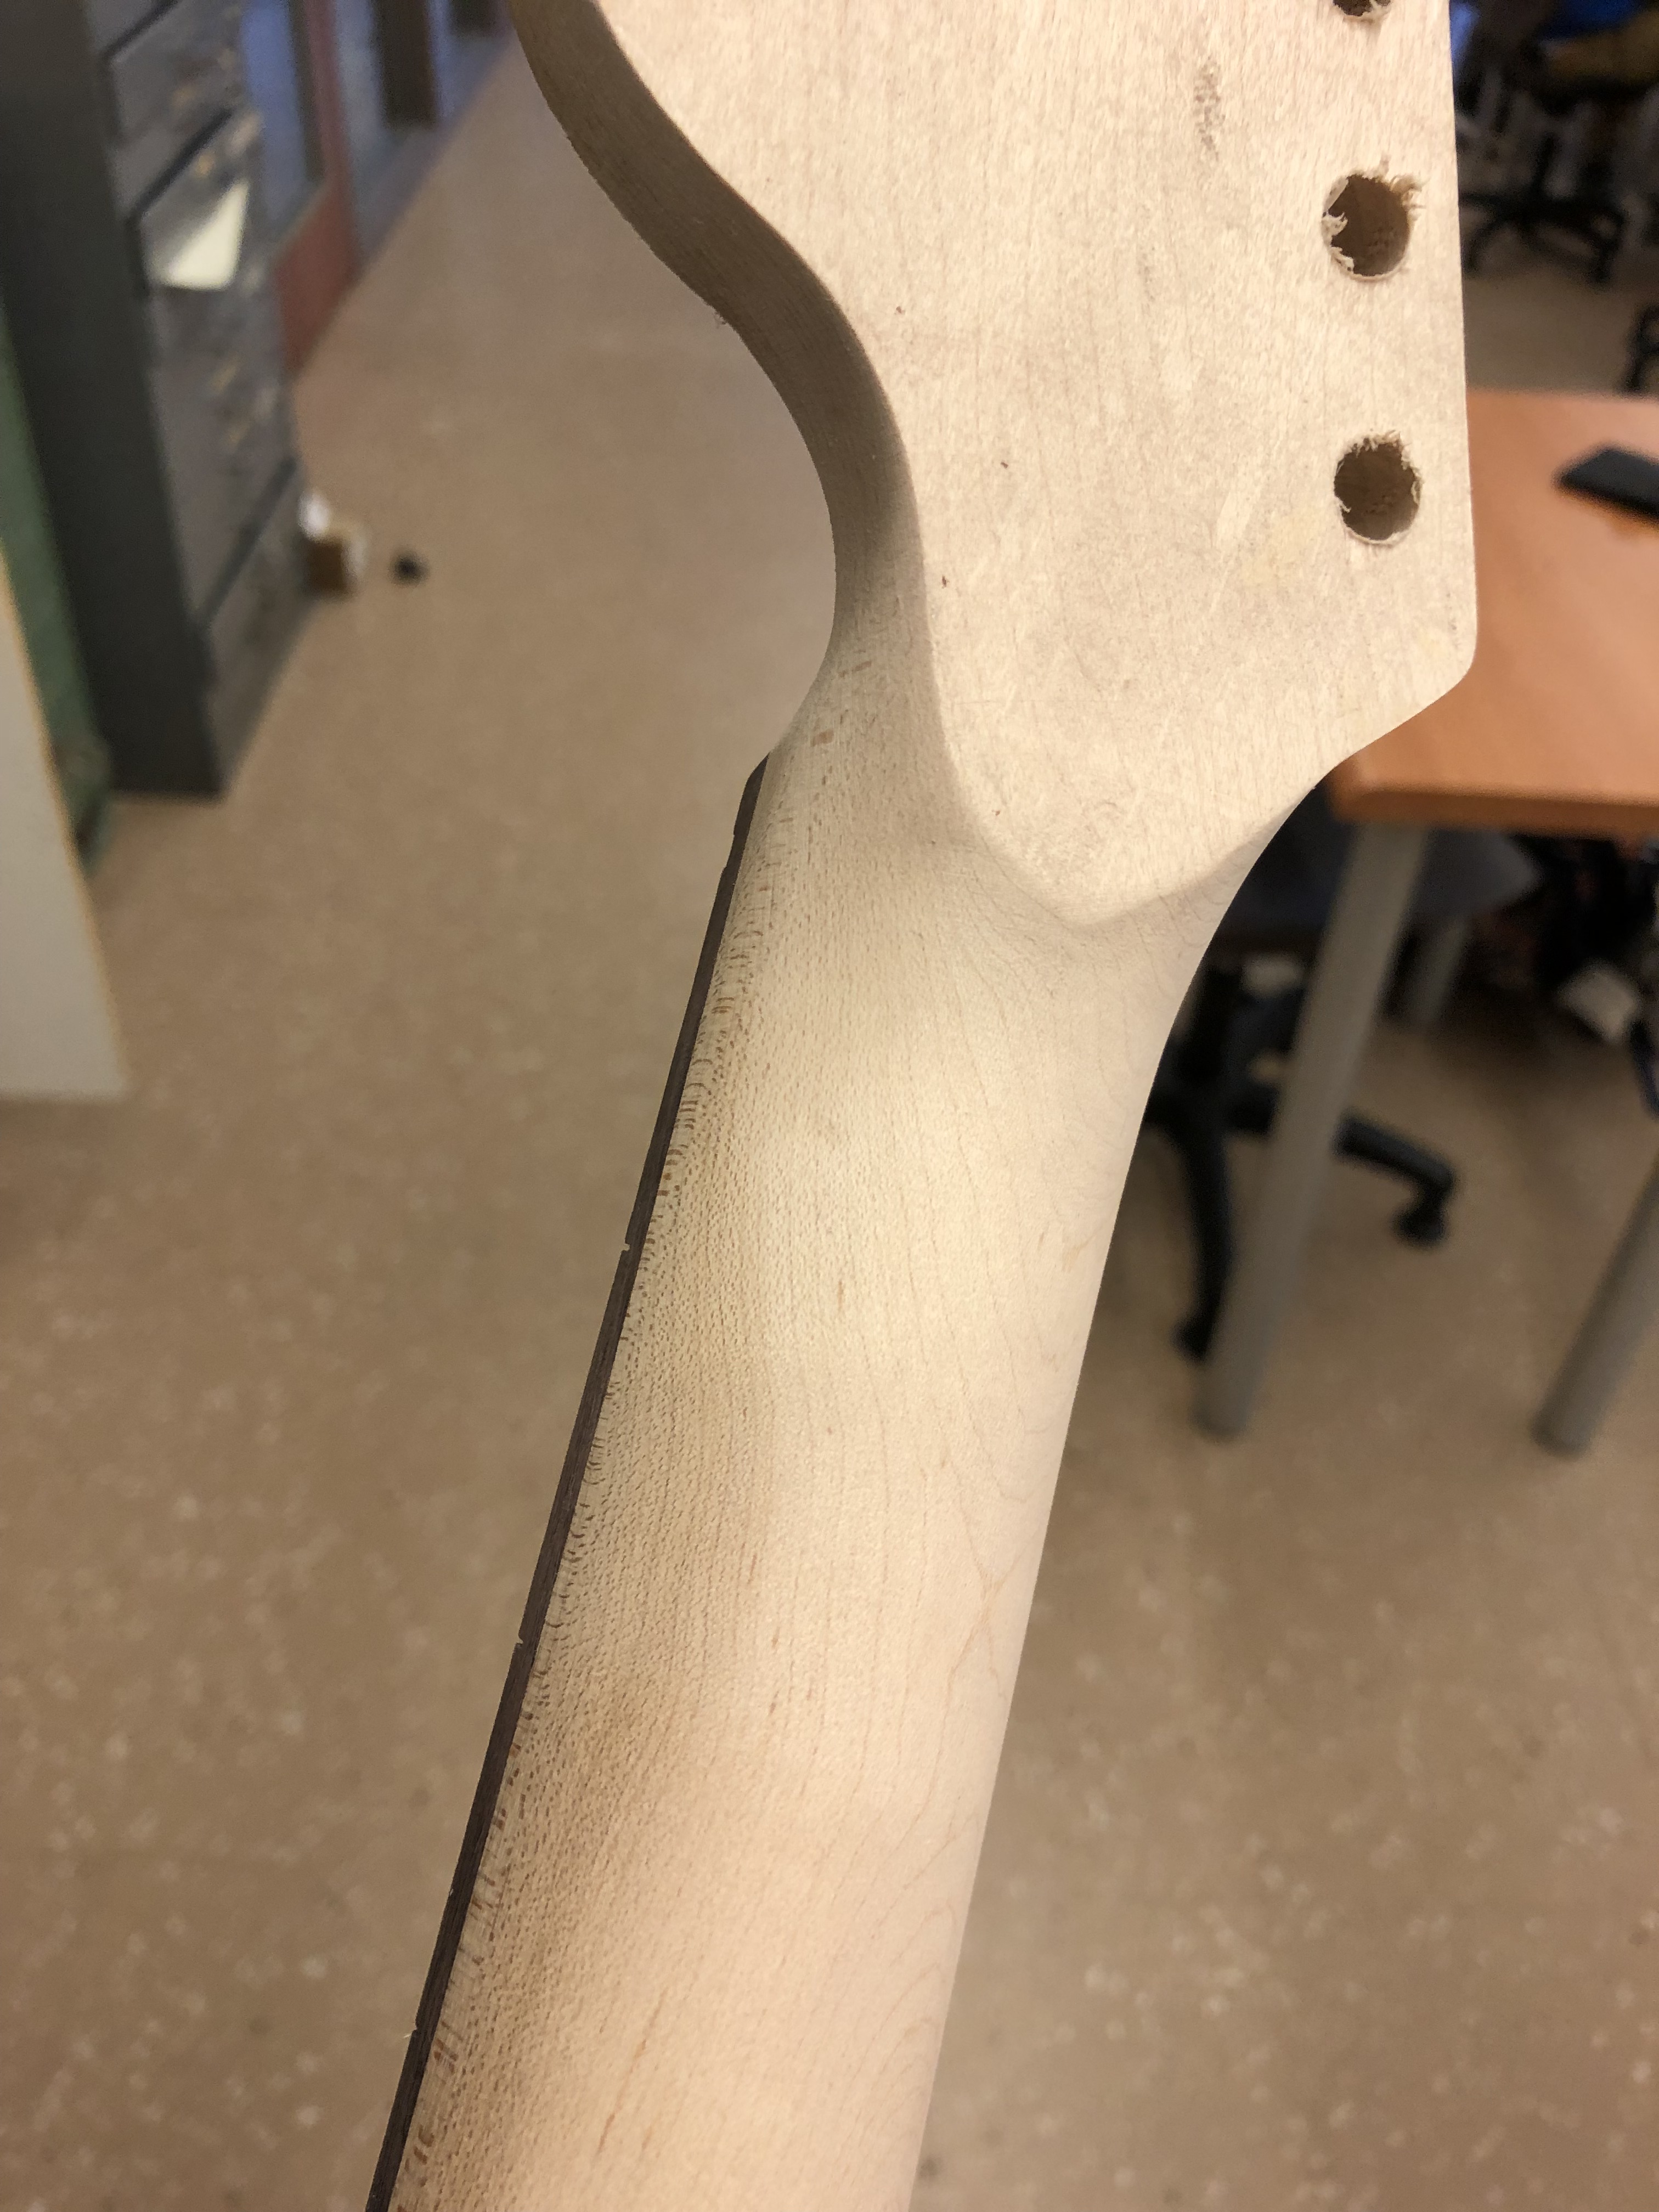
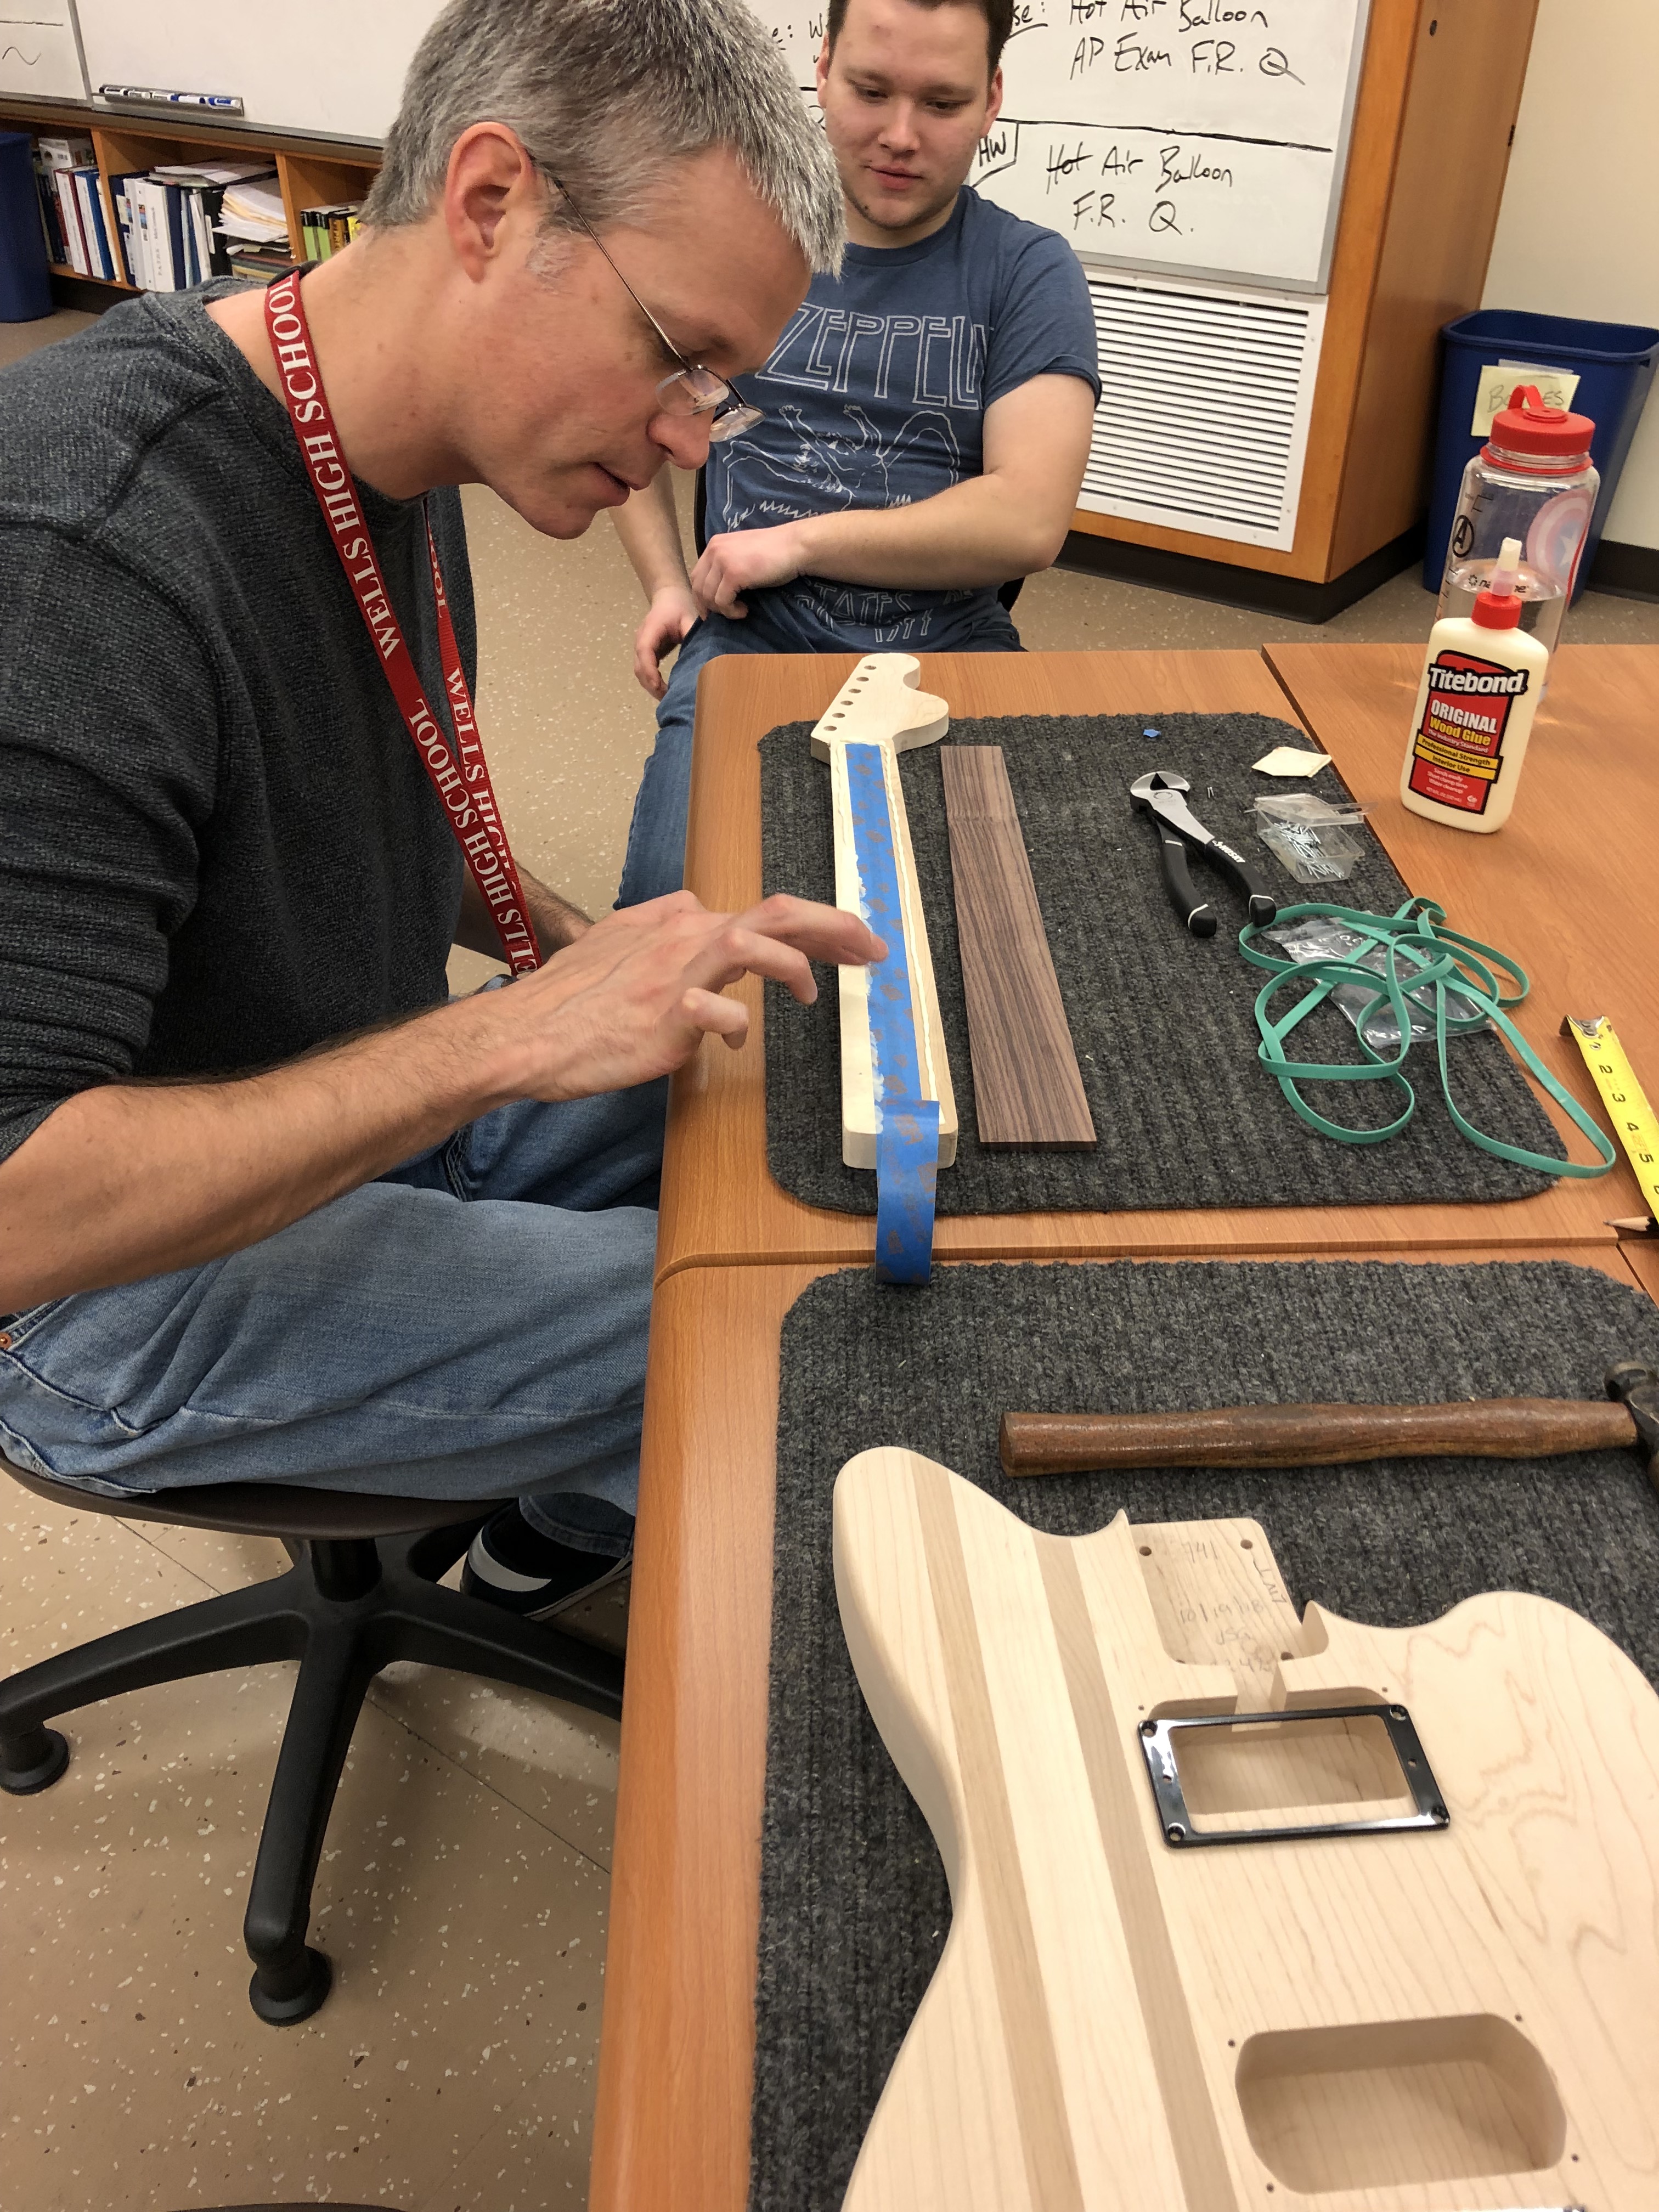
Accomplishments: This week I finished staining my entire guitar, and we also started working on a new guitar that we are going to auction off, so I shaped the headstock for that.

The tools I used were stain and cloths, also I used a bandsaw to shape the headstock, we also used a drill to put an eye hook in my guitar so we could hang it to dry.

I learned that you have to wipe off stain, it is not like paint where you just coat the whole thing and leave it. Also the whole staining process in general was new to me. I also learned that when spray painting a guitar you have to sand it a lot, and do many many coats which I did not know.

The headstock for the class guitar

my stained guitar

Week 12

Accomplishments: This week I finished soldering my electronics and I tested them with the alligator clips on the amp with my pickups and they worked! This week I also finished sanding my body to be smooth and lastly I started working on my headstock design for my headstock.

Tools: The tools I used to finish sanding my guitar was sandpaper and a random orbital sander. Also I used a soldering iron and solder to connect all my electronics.

What I learned: This week I learned how to connect ground and signal connections and why those are important. I also learned that you need to wear glassed because solder in your eye would be really bad.

This Is a badly photoshopped picture of what I want my headstock to look like

This is my electrical stuff with my pickups, when I was testing them with a tuning fork

Week 11

Accomplishments: This week I shaped the cover that goes on the back of my guitar, so it fit perfectly. I also started sanding my guitar body. I also started soldering my electronics but did not get very far, because it was a short class. Lastly I made a speaker out of a pie tin which was really cool!

Tools Used: I used the belt sander to shape my cover and we used a magnet and wire and pie tin to make a speaker and I also used a random orbital sander to start sanding my guitar body to make it smooth.

What I learned: This week I learned a lot about electronics and how the poles of the magnet matter to make a speaker and also how you have to be careful when sanding the plate on the back of the guitar because it only needs a little sanding to fit into place.

the plate on the back of my guitar fitting in

Week 10

Accomplishments: This week I finished my frets, I went over all of the fret ends again with steel wool because the ends were still really sharp, so I wanted to smooth them out and make them all even.

Tools: I pretty much just used steel wool this week, and some sandpaper and blue tape

What I learned: I learned that it is really important to put care into everything you do and make sure it is the best you can do because it will count in the end. Also I learned so much about solenoids with the academic day.

these are my finished fret ends

Week 9

Accomplishments: This week I finished pressing all my frets and sanded and filed all my frets and brought them back to life after making them all flat, my fingerboard is somewhat crooked so some of my frets got really flat, but we managed to fix them and they look great now. The fret process was one of my favorite process so far.

Tools: This week I used a lot of special fret tools including the diamond fret shaper and fret wire and a fret bender and also i used sandpaper and steel wool. I used a file to bevel the ends of my frets as well

What I learned: This week I learned that it is okay if your frets get really flat when sanding the top, you can still bring them back to life and make them look pretty without getting any buzz on your strings. I also learned that fret wire comes in different thicknesses, I learned this because lily put the wrong thickness in her last fret.

my fret ends before bevel

finished frets
beveled fret ends

Week 8

Accomplishments: This week I finished sanding my fingerboard to a 2000 grit and then installed all of my frets into my fingerboard. We cleaned the frets, bent them into a curve, and then cut and pressed them in.

Tools: The tools I used this week were sandpaper, flush clippers, drill press with a fret installer attached to the end, fret bender, and acetone for cleaning.

What I learned: This week I learned that we have to bend our fret wire to a curve so that when we press them into our already curved (to a 12 inch radius) fingerboard they press in nicely and don’t come up on the ends.

all my frets installed

different picture of my frets
my fingerboard fully sanded

WEEK 7

Tools: drill with small side dot bit, sandpaper ,superglue, clamp, sanding beam

Accomplishments: this week I drilled the holes for my side fret dots and glued in dots and sanded them down to flush and then I started sanding my fretboard to eventually get it to a 2000 grit sandpaper so it will be super smooth. I also superglued one fret because Mr. McCormack accidentally pressed a fret into my neck instead of Gary’s and I sanded that away and you can’t even tell now.

What I learned: I learned how to put side dots into my fingerboard and I learned that it’s a lot easier to drill with the drill in forward not reverse. I haven’t laid in my frets yet but when I was watching Mr McCormack and Gary doing it I learned a little about how to do that and how to bend them to the right radius. And that you need to clip vertically not horizontally or else they will be crooked. I also learned that you can repair a fret slot if you accidentally need to take one out really easy with a little super glue and tape.

My side dots while I was placing them in and clipping them.
My side dots fully sanded
superglue on the damaged fret

Week 6

Accomplishments: this week I drilled all the holes in the body of my guitar for the wires and input jack, we used the drill which I was a little afraid of but it went well. This week I also sanded my neck and shaped it so it’s smooth, we use a shoeshine method. We also filed the neck into the headstock, so it looks really smooth and flows well.

Tools: drill with different bits, sandpaper, file. 

What I learned: this week Dustin taught me how to change a drill bit, and I learned how to use a drill big holes, because i’ve never done that before.

two of the holes i drilled for the wires to go through
The big hole for the jack
My now smooth neck transition into the headstock

Week 5

I missed week 4, because I was on vacation, but I am back now! This week was a pretty short week because we had two delay days. However we still got stuff done.

Achievements: This week I unwrapped my guitar which I had wrapped in a rubber band the week before, I’m not sure if I documented that. I wrapped it in a rubber band to attach the fingerboard to the neck of the guitar. This week following that I sanded the neck so that the fretboard and it were flush to each other and the dried glue was sanded away. This week I also sanded the fret so that it would blend down into the head of the guitar with a smooth transition.

What I learned: This week I learned a lot about frets and the spacing of them from Friday in class and I also learned to keep my guitar straight while sanding the edges so that it was a straight edge.

Tools: The tools I used were a spindle sander, sandpaper

This is looking down the neck of my guitar with the fretboard attached and the sides sanded
This is the side of my guitar neck

WEEK 3!

Achievements: This week I did a lot, I sanded the body of my guitar perfectly smooth and trimmed the edge with a router table, we went around twice to make nice soft edges. I then sanded again to get rid of any burn marks. I also attached my finger board to the neck of my guitar with glue and nails and a rubber band. This was my favorite part of the week. We also inserted my trust rod into the neck of my guitar.

Tools: sandpaper, router table, spindle sander, glue

What I learned: This week I learned how to use the router table and learned some of Mr. McCormack’s cool tricks when it came to attaching my fingerboard to my neck like having the nails line up the fingerboard. I also learned that from the top of the screws on the string holder to the nut fret should be 25.5 inches.

mr. McCormack spreading the glue on my neck to attach the fingerboard
my trust rod in the neck